Apple Push Notifications
Qonversion uses Apple Push Notifications service (APNs) with the .p8 certificate to send push notifications on the iOS platform. It is the unified key to send push notifications in sandbox and production. To set up push notifications with Qonversion using APNs you need the following data:- APNs Key;
- Key ID;
- Bundle ID;
- Team ID.
1. Generate APNs key
Navigate to Certificates, Identifiers & Profiles in your Developer Center. Click the “plus” button.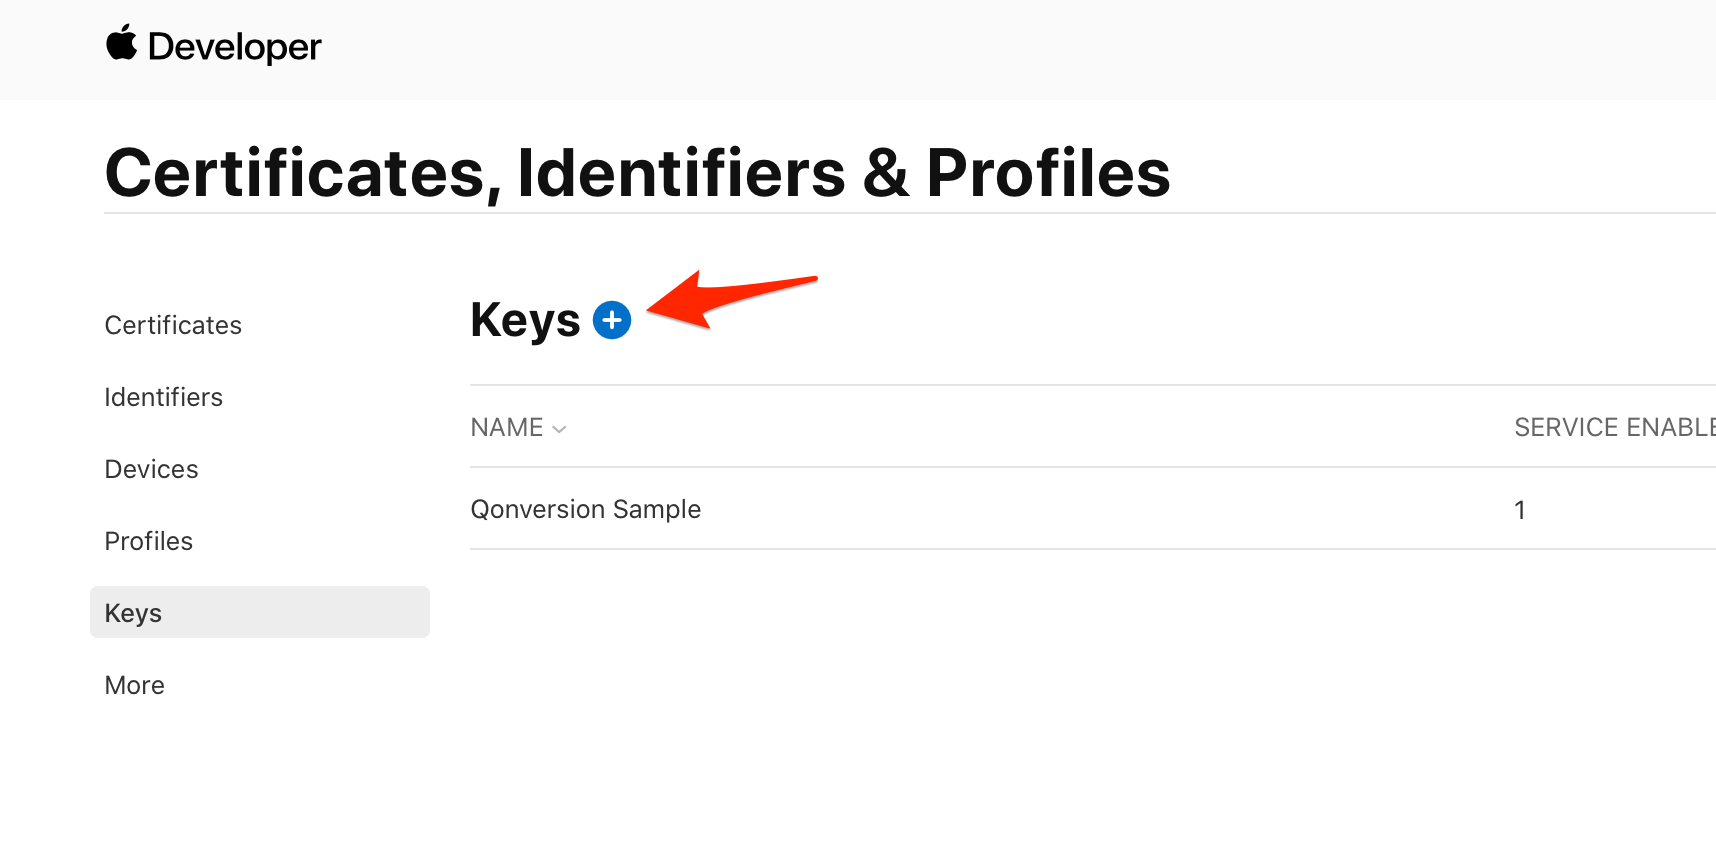
Click Continue.

2. Copy the Key ID and download your key
Copy the key ID and save the downloaded key securely.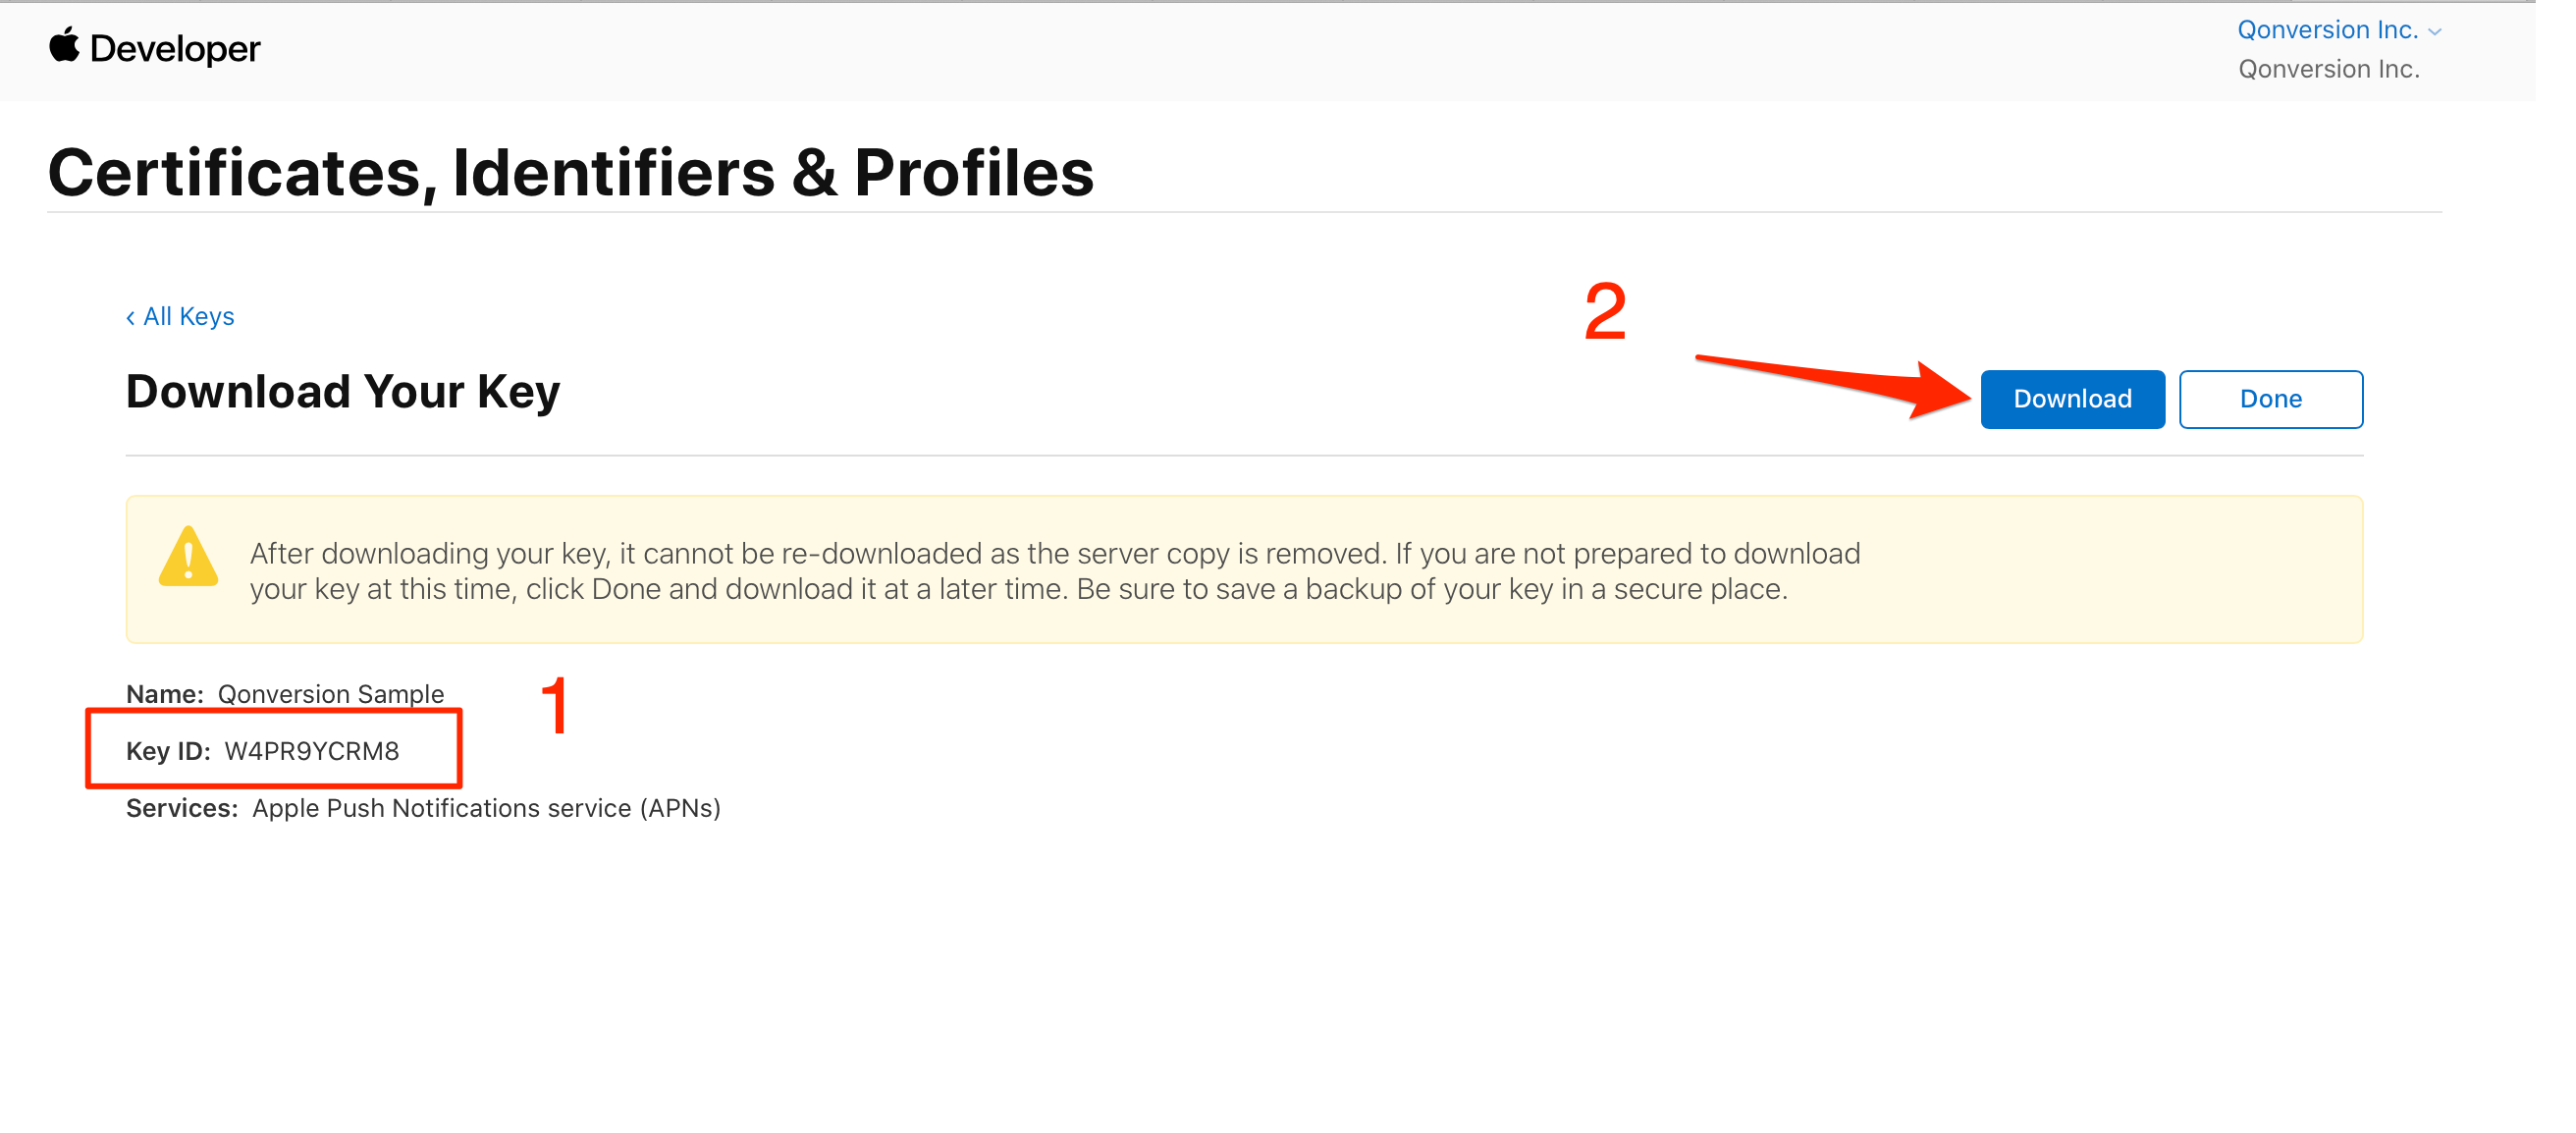
🚧 Download Your Key Save your key securely. After downloading the key, it cannot be re-downloaded as the server copy is removed.
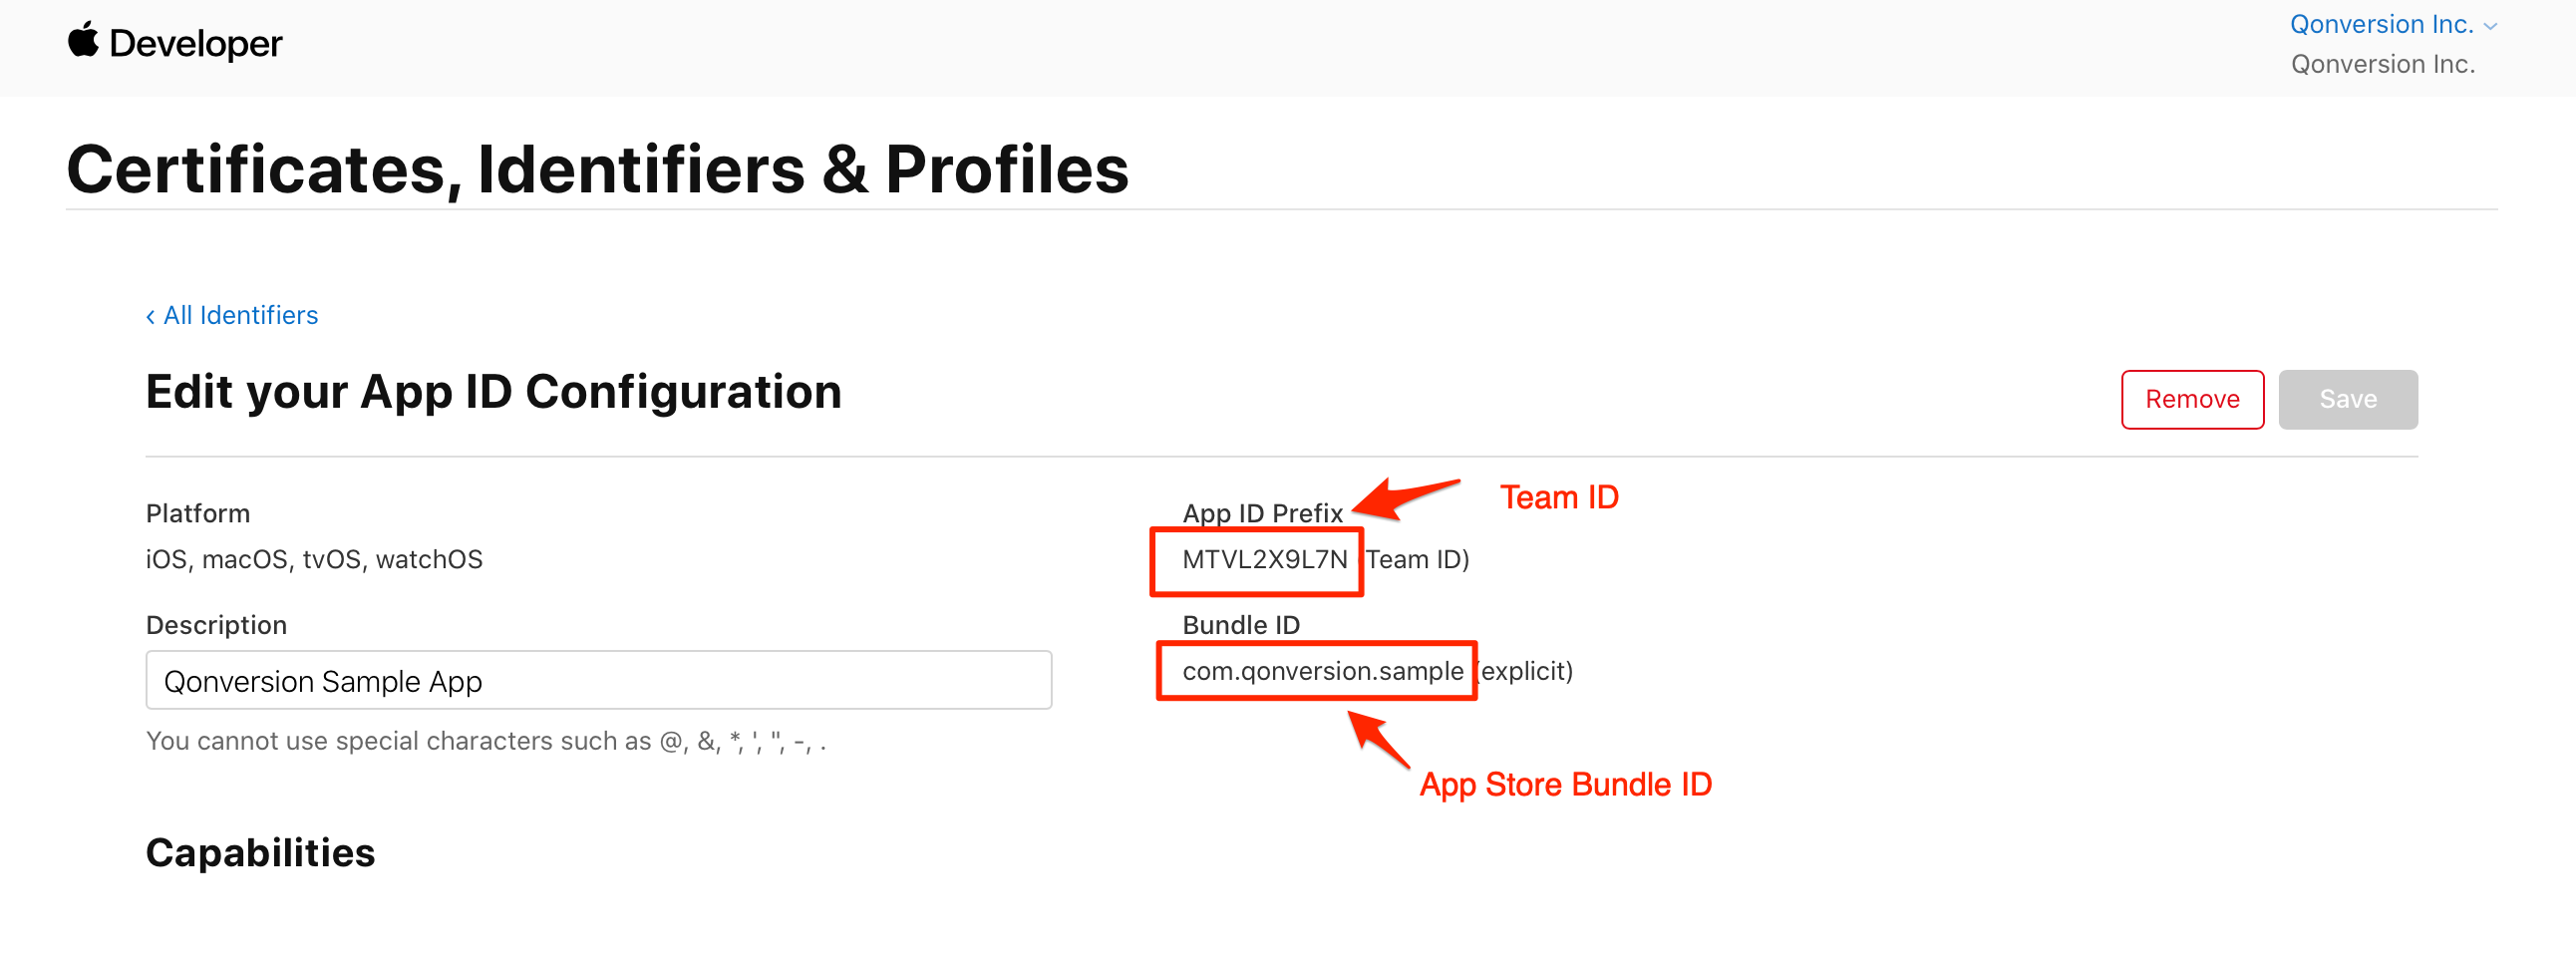
3. Copy your Team ID and Bundle ID
Navigate to Apple Developer and select Identifiers: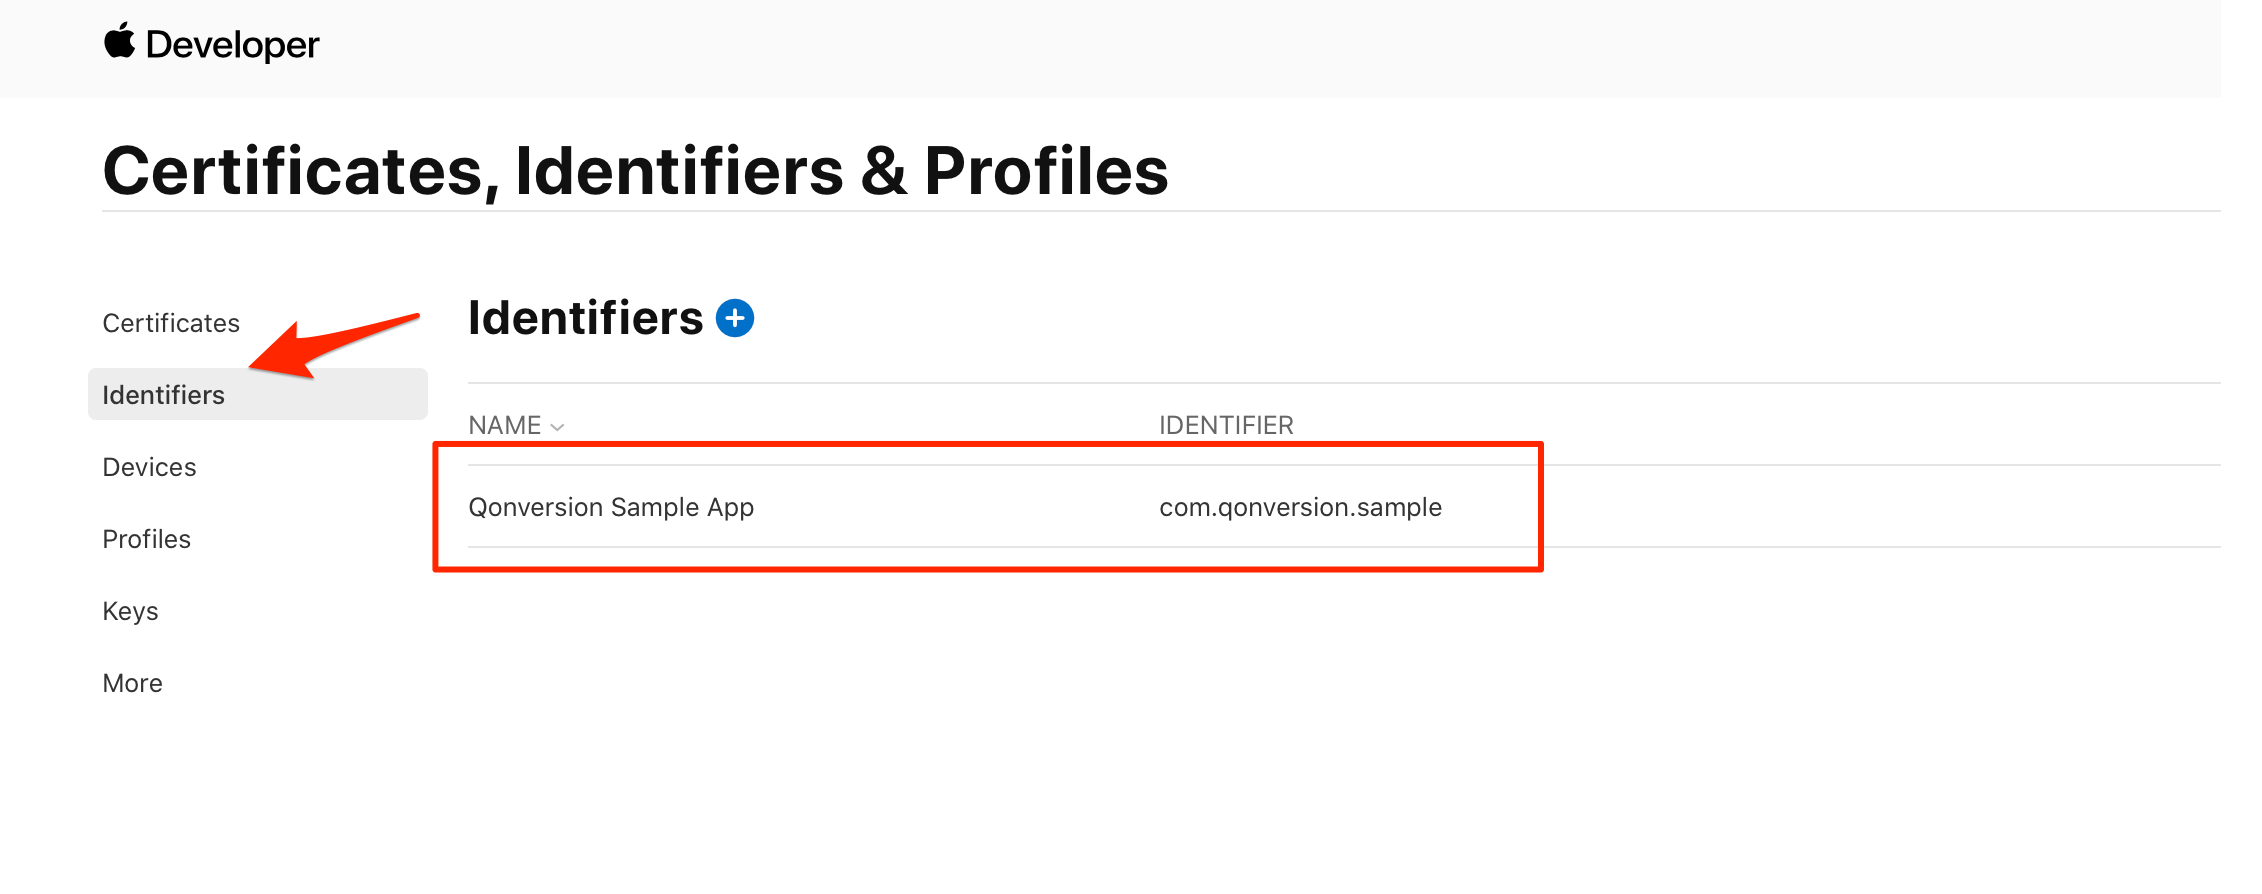
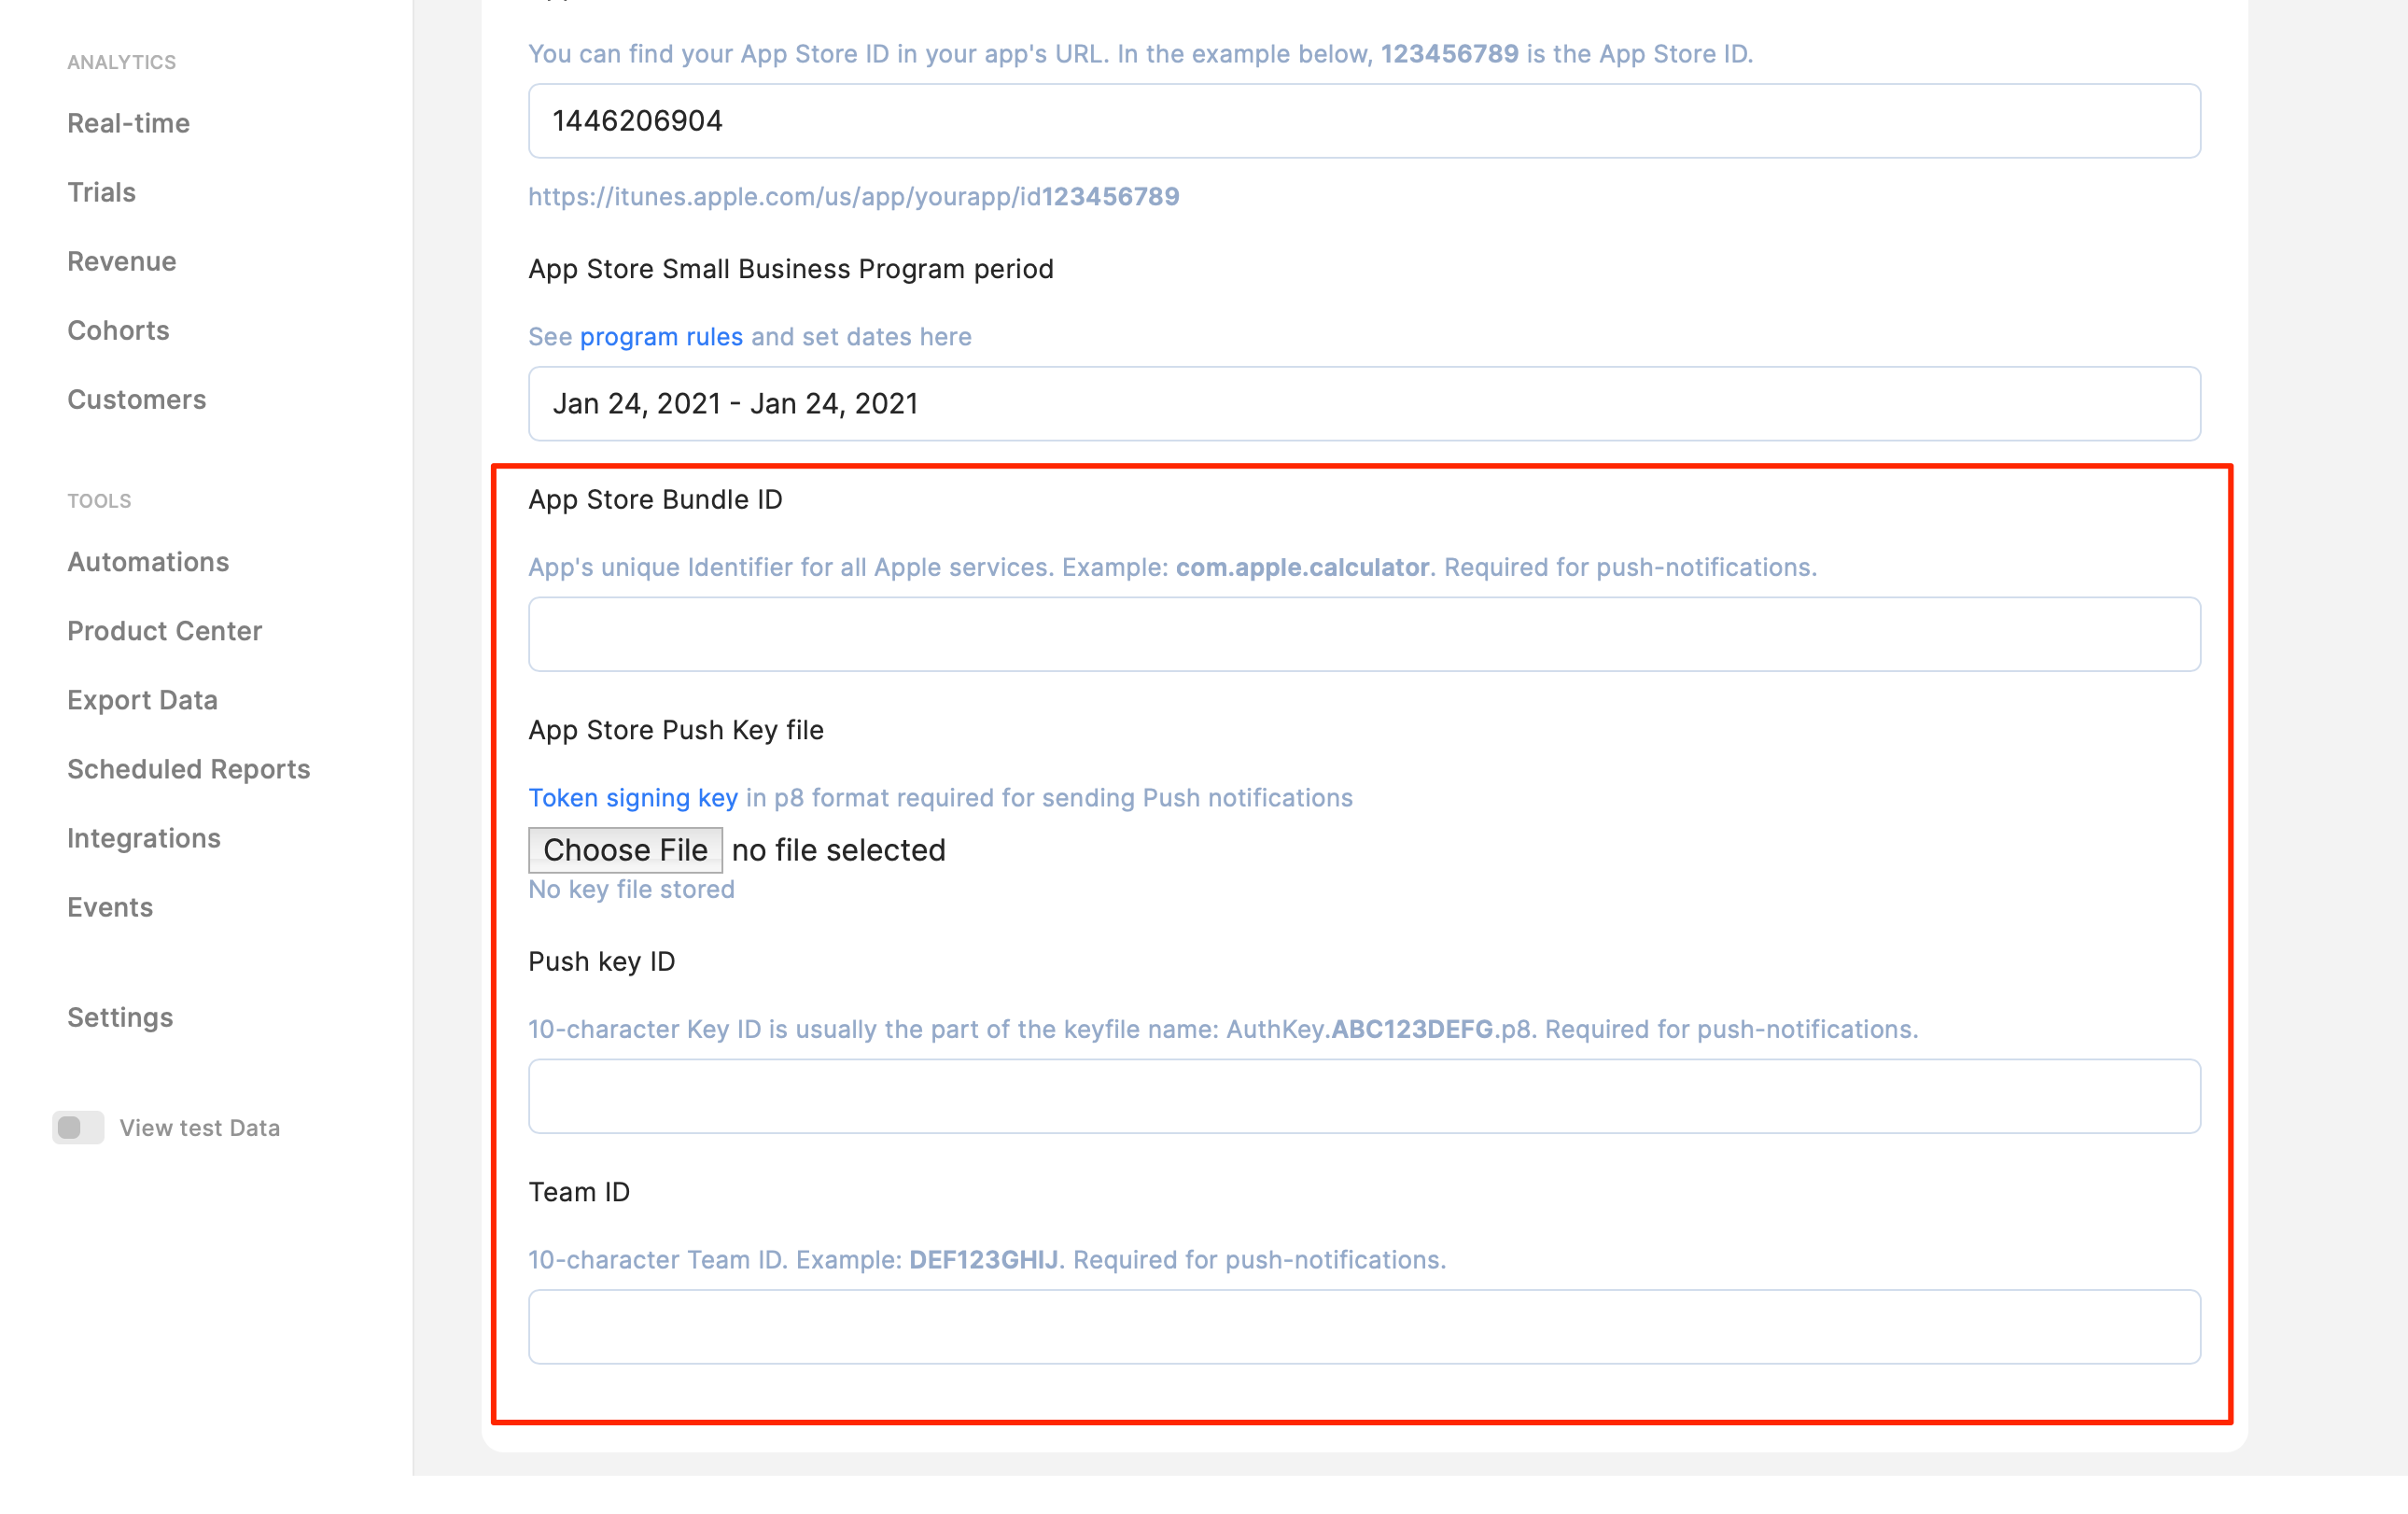
4. Configure your Qonversion project with the APNs settings:
Navigate to your Qonversion project’s settings page and provide the values in the following fields:- App Store Bundle ID;
- App Store Push Key File;
- Push Key ID;
- Team ID.
🚧 Make sure to use server-to-server notification Activate server-to-server notifications so Qonversion gets events immediately as they happen. Otherwise, there might be a delay between an event and the time Qonversion receives the event and sends a push notification.
Google Firebase Push Notifications
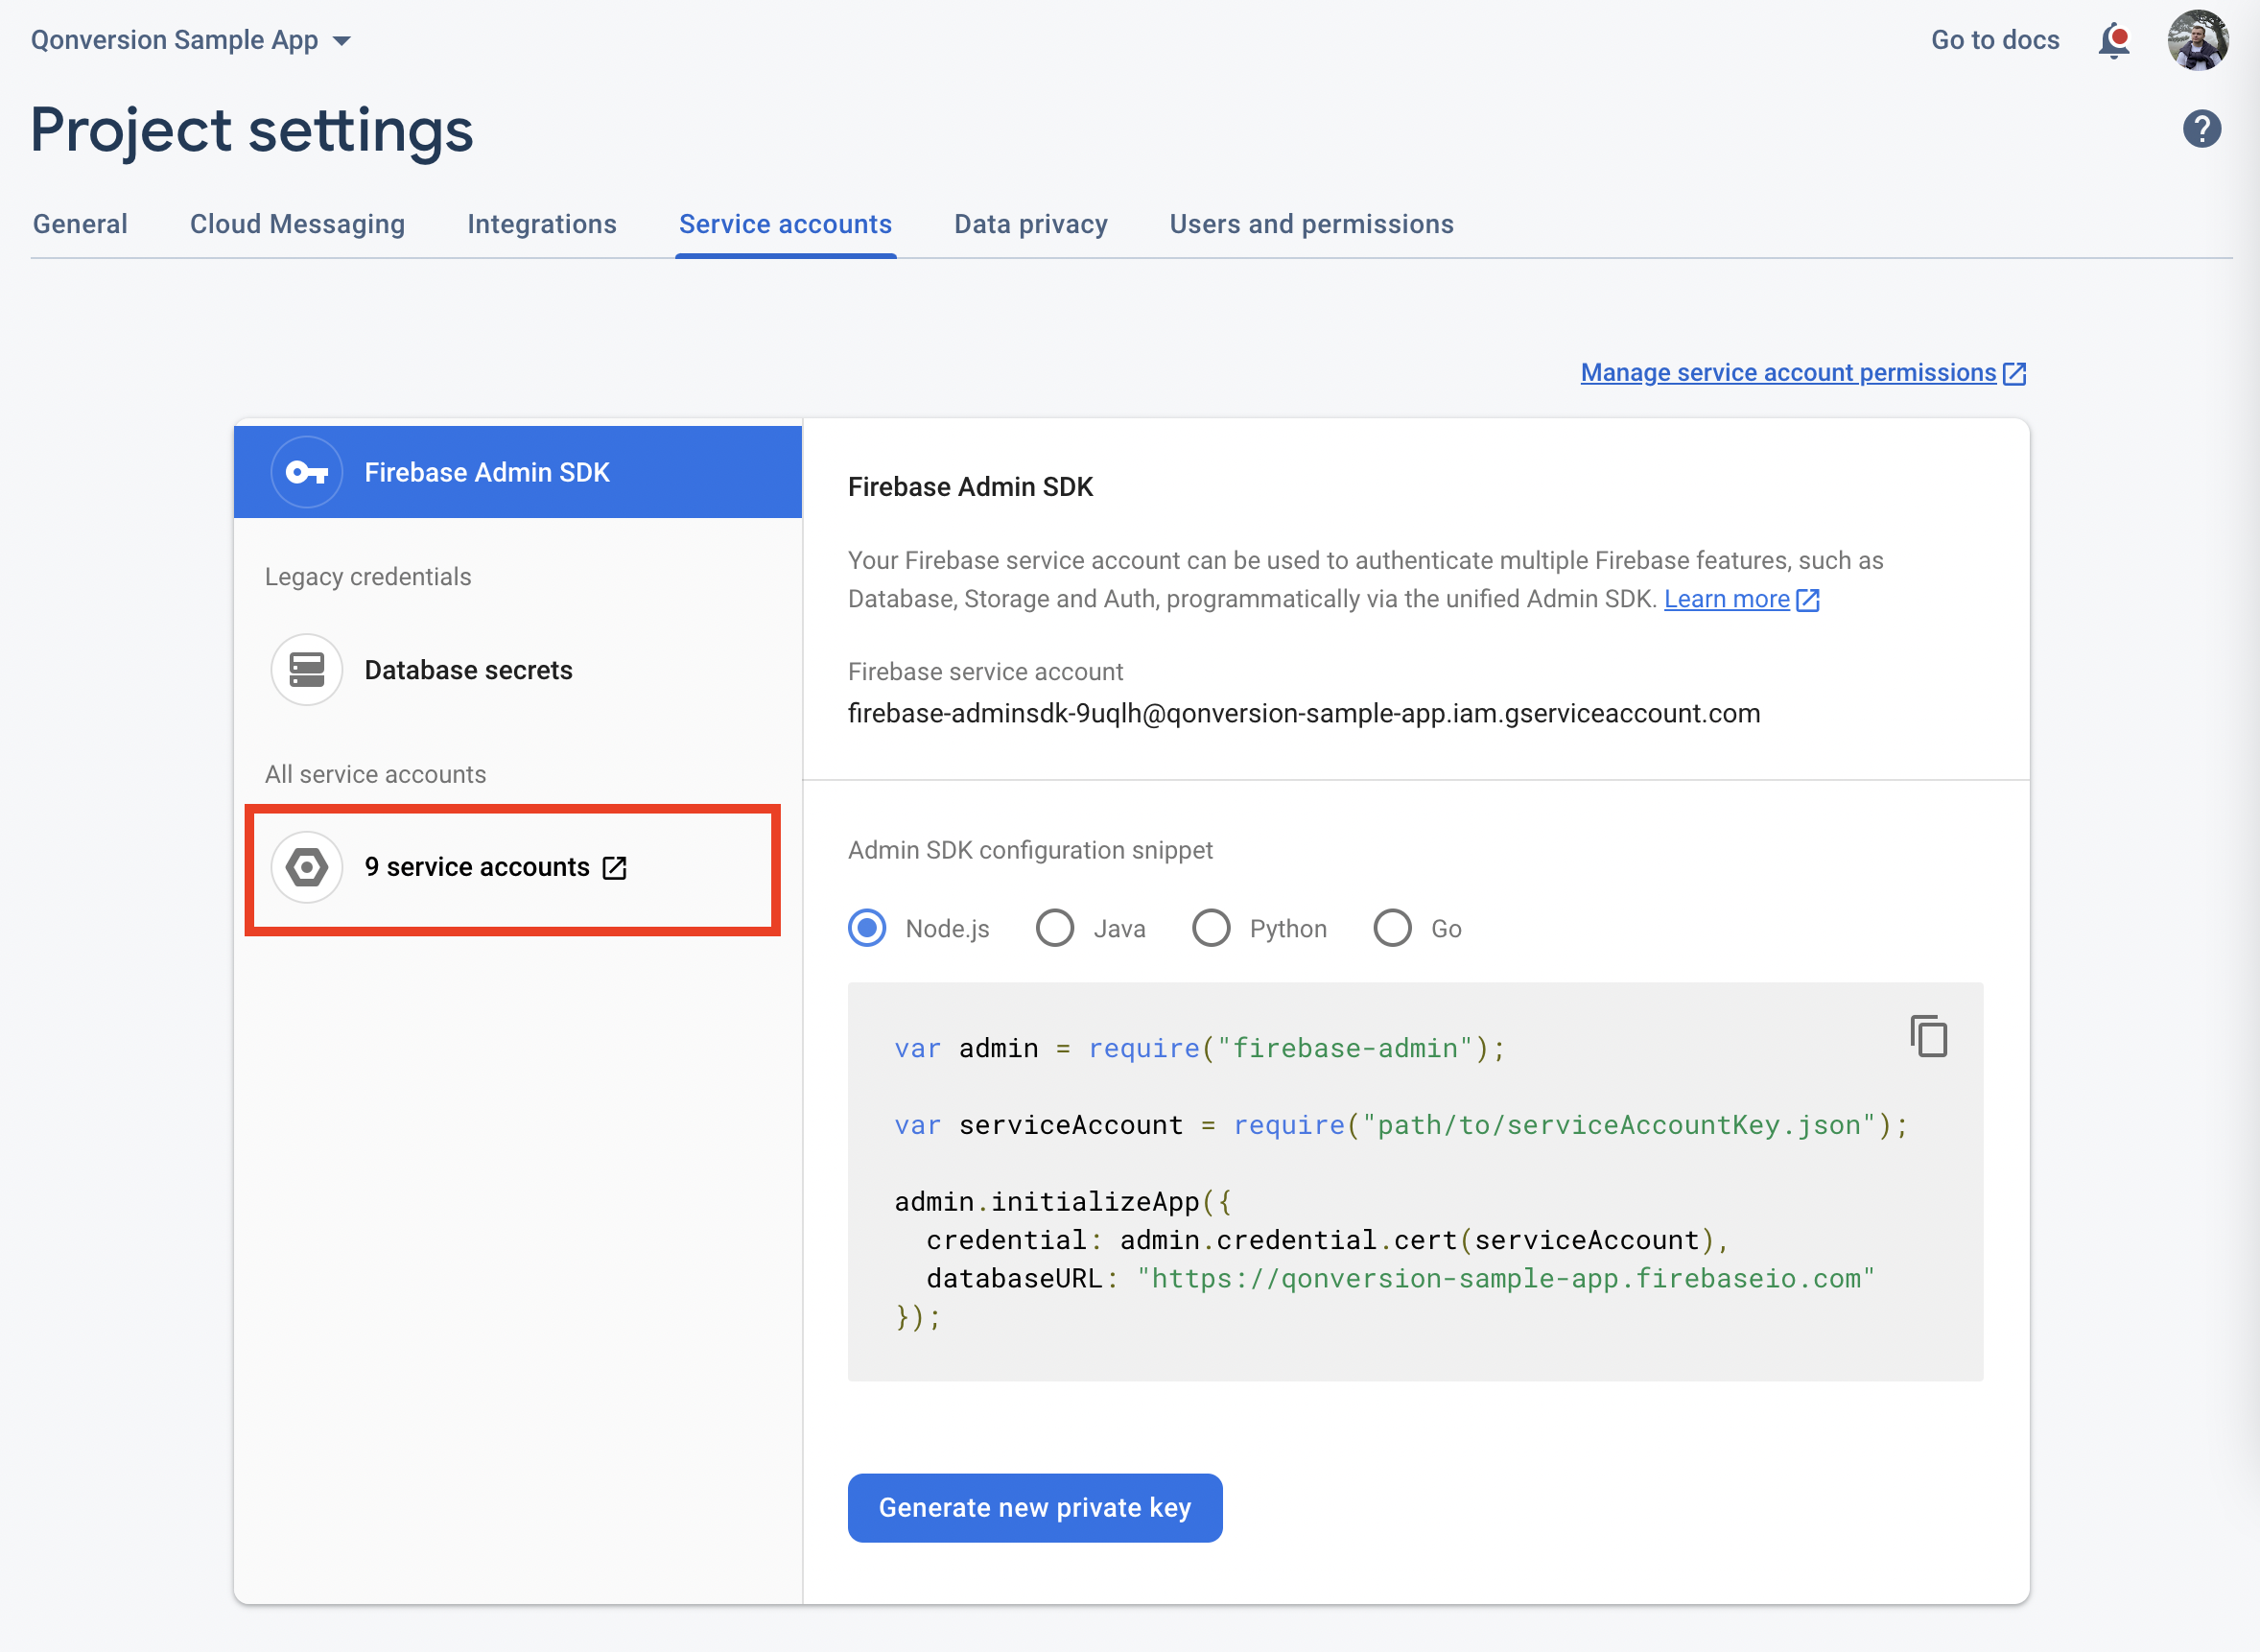
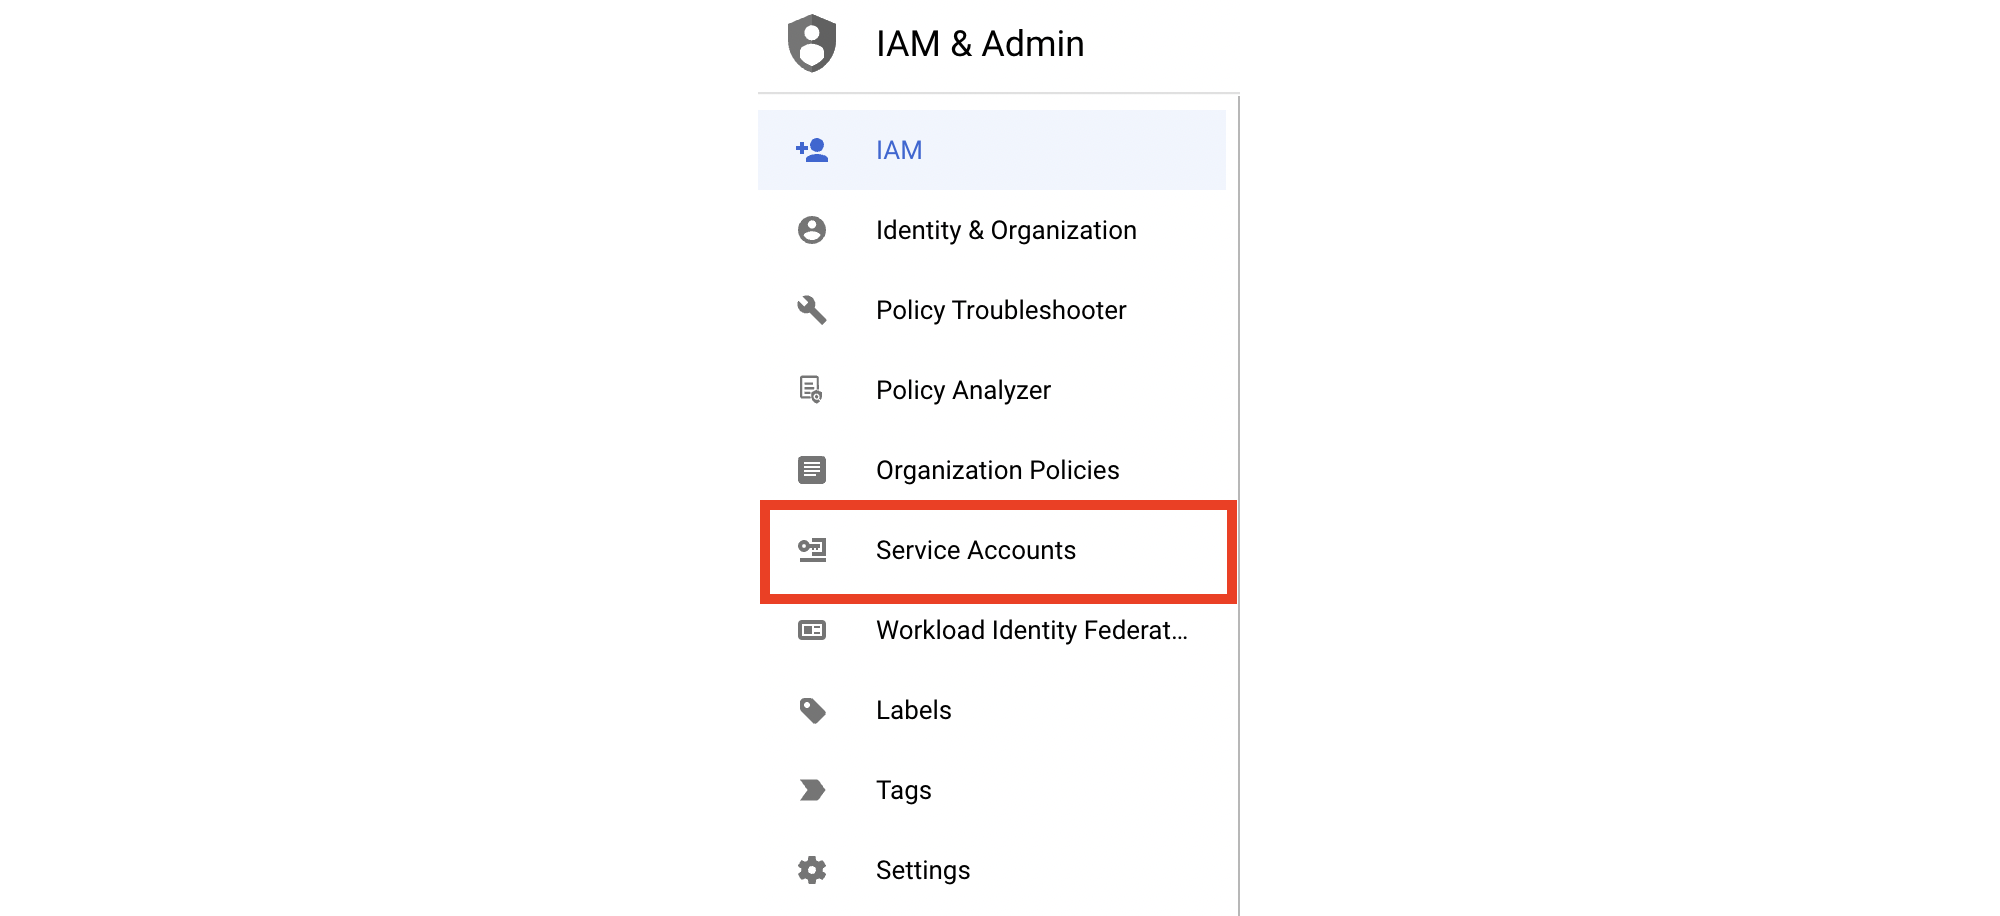
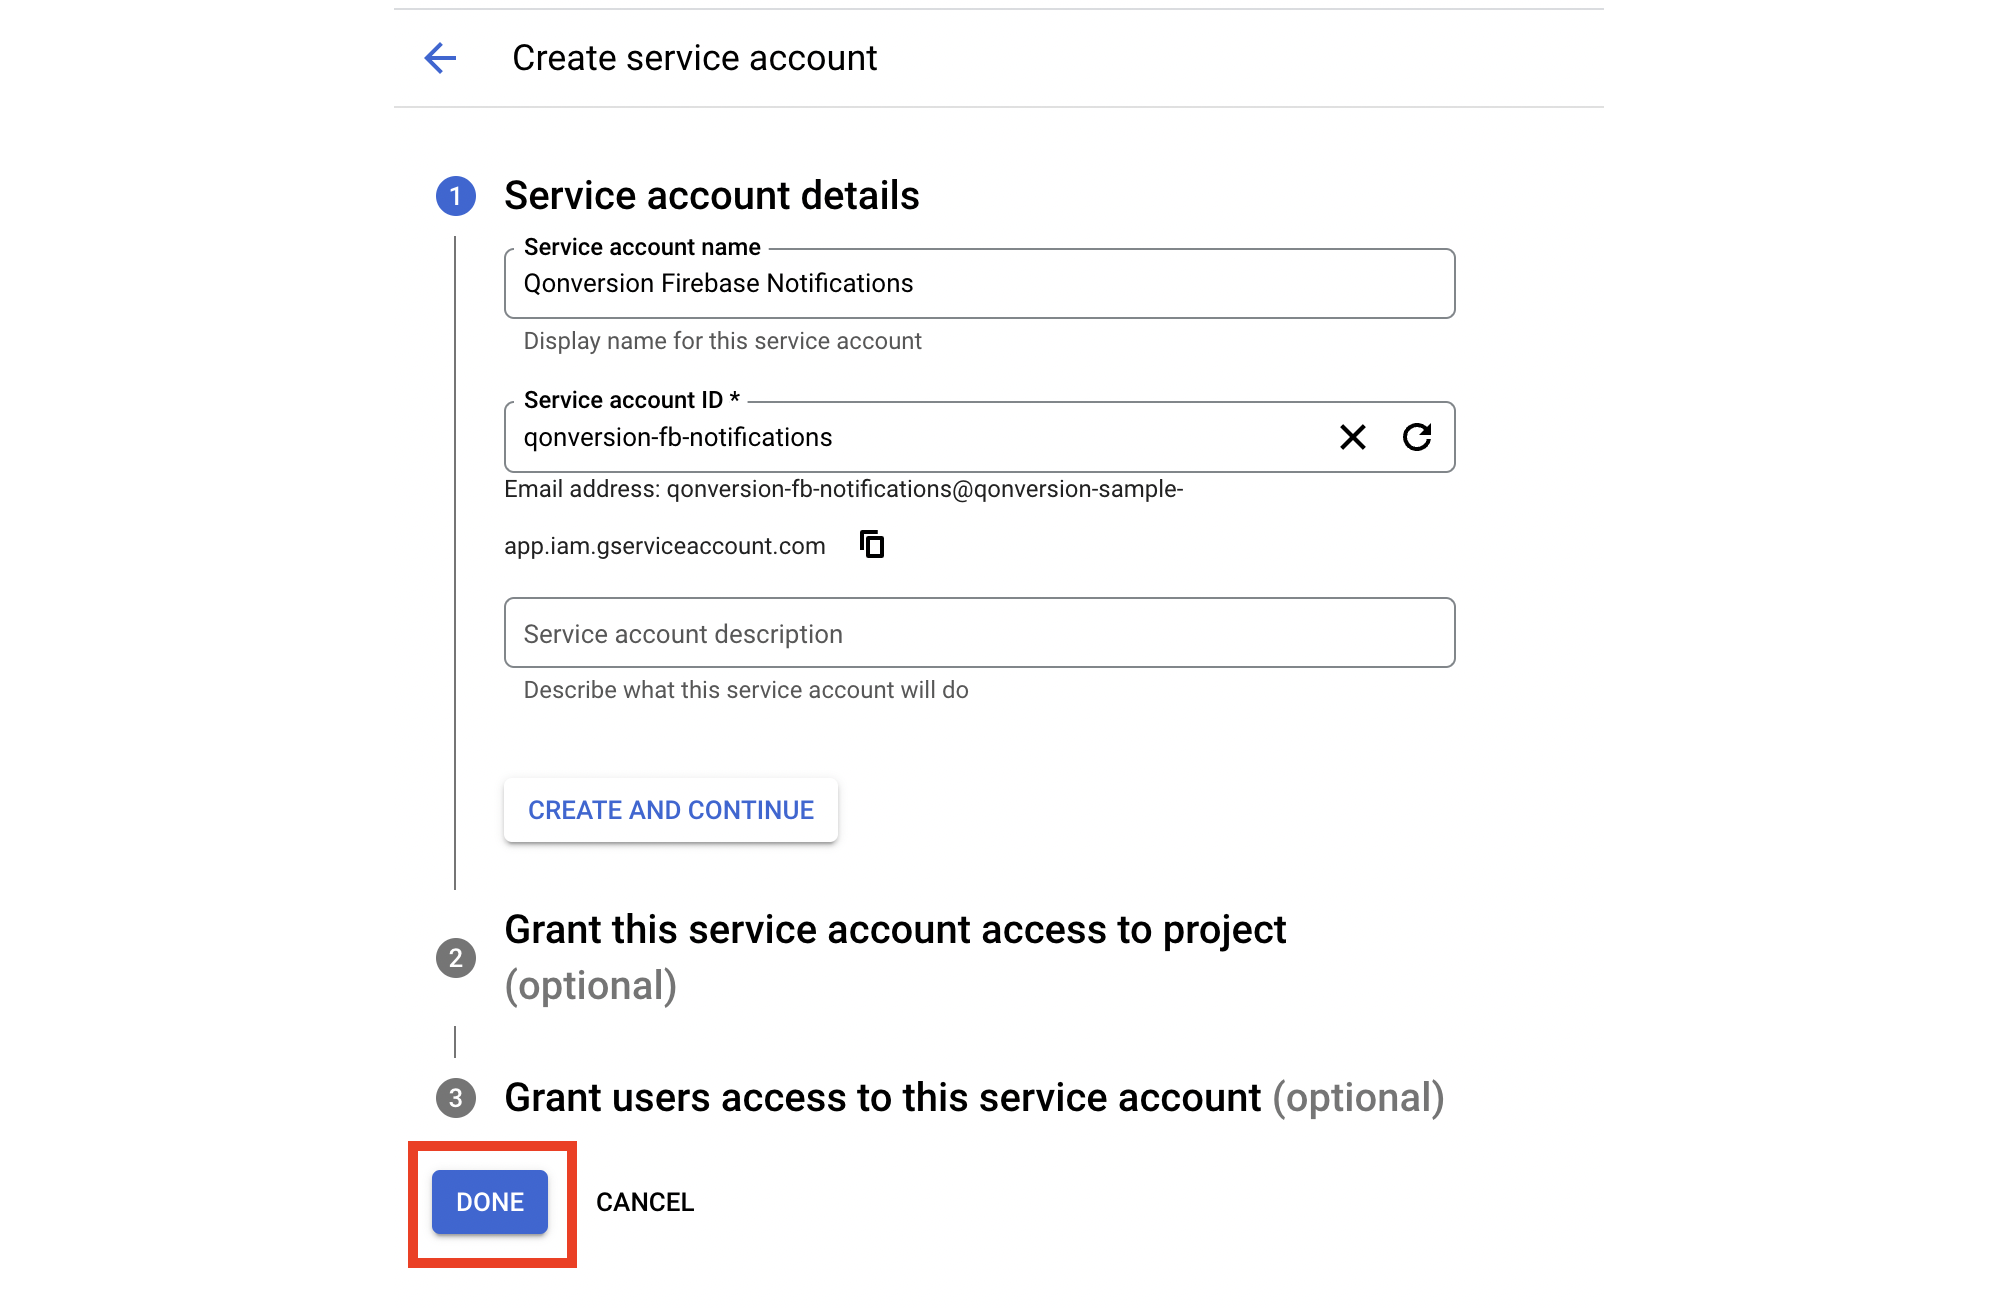
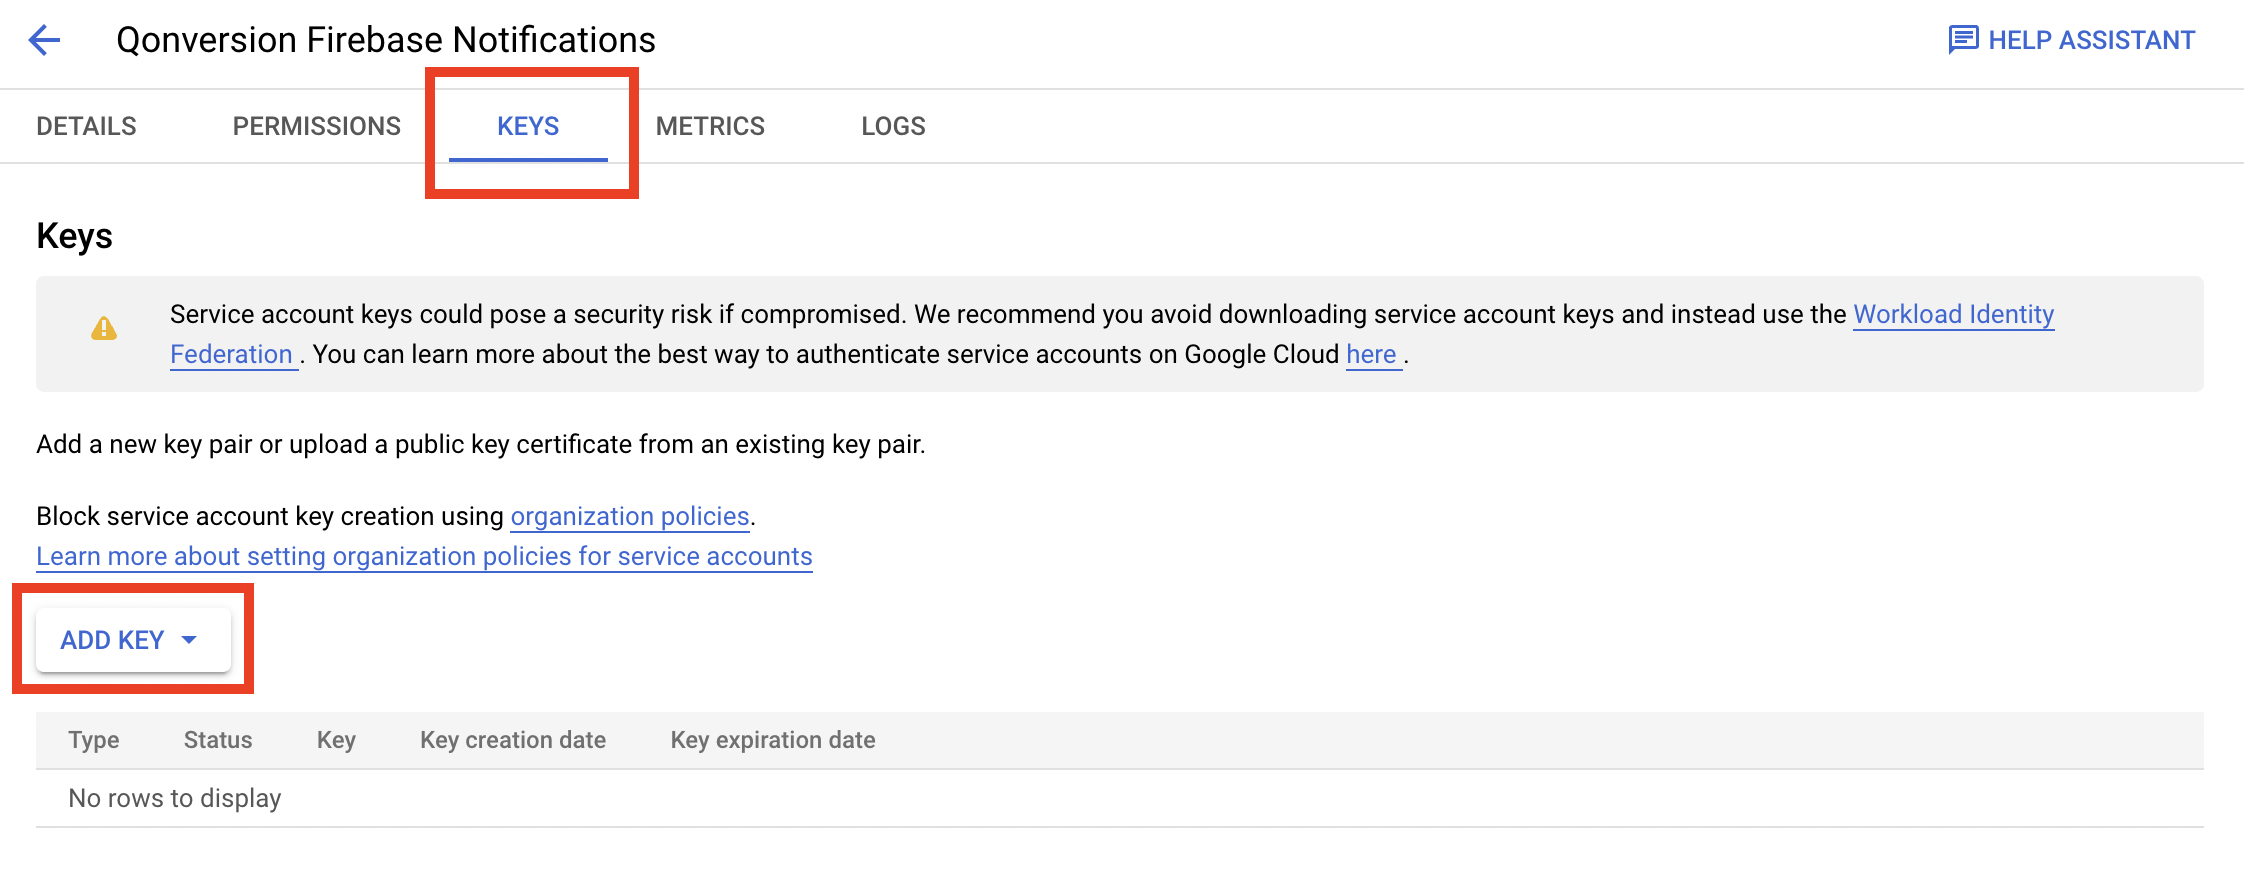
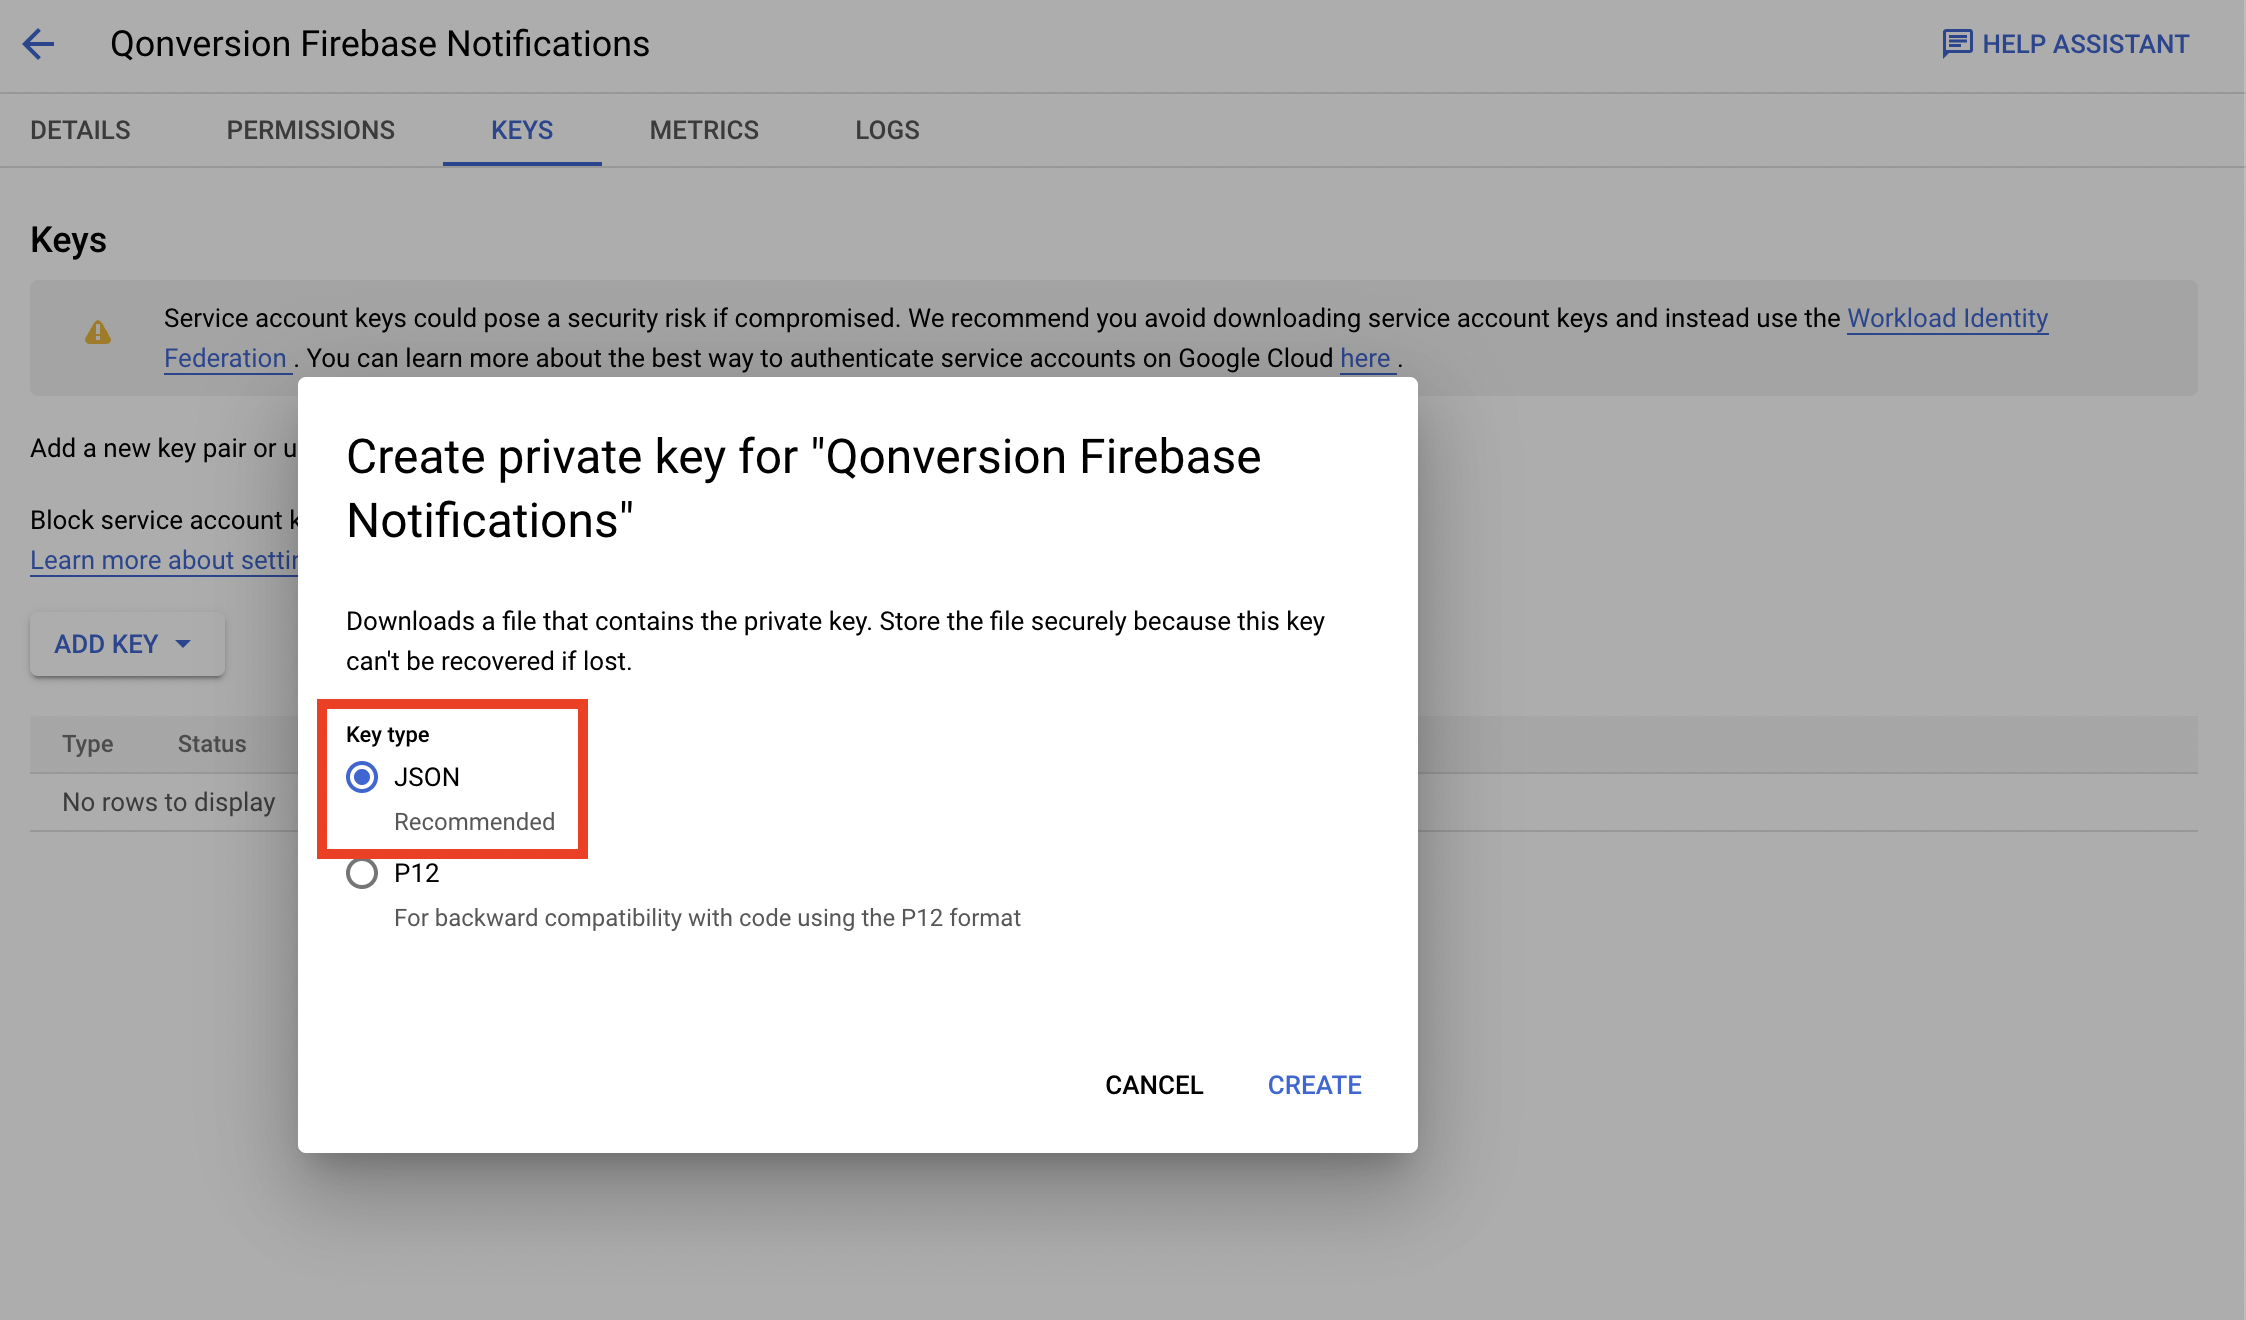
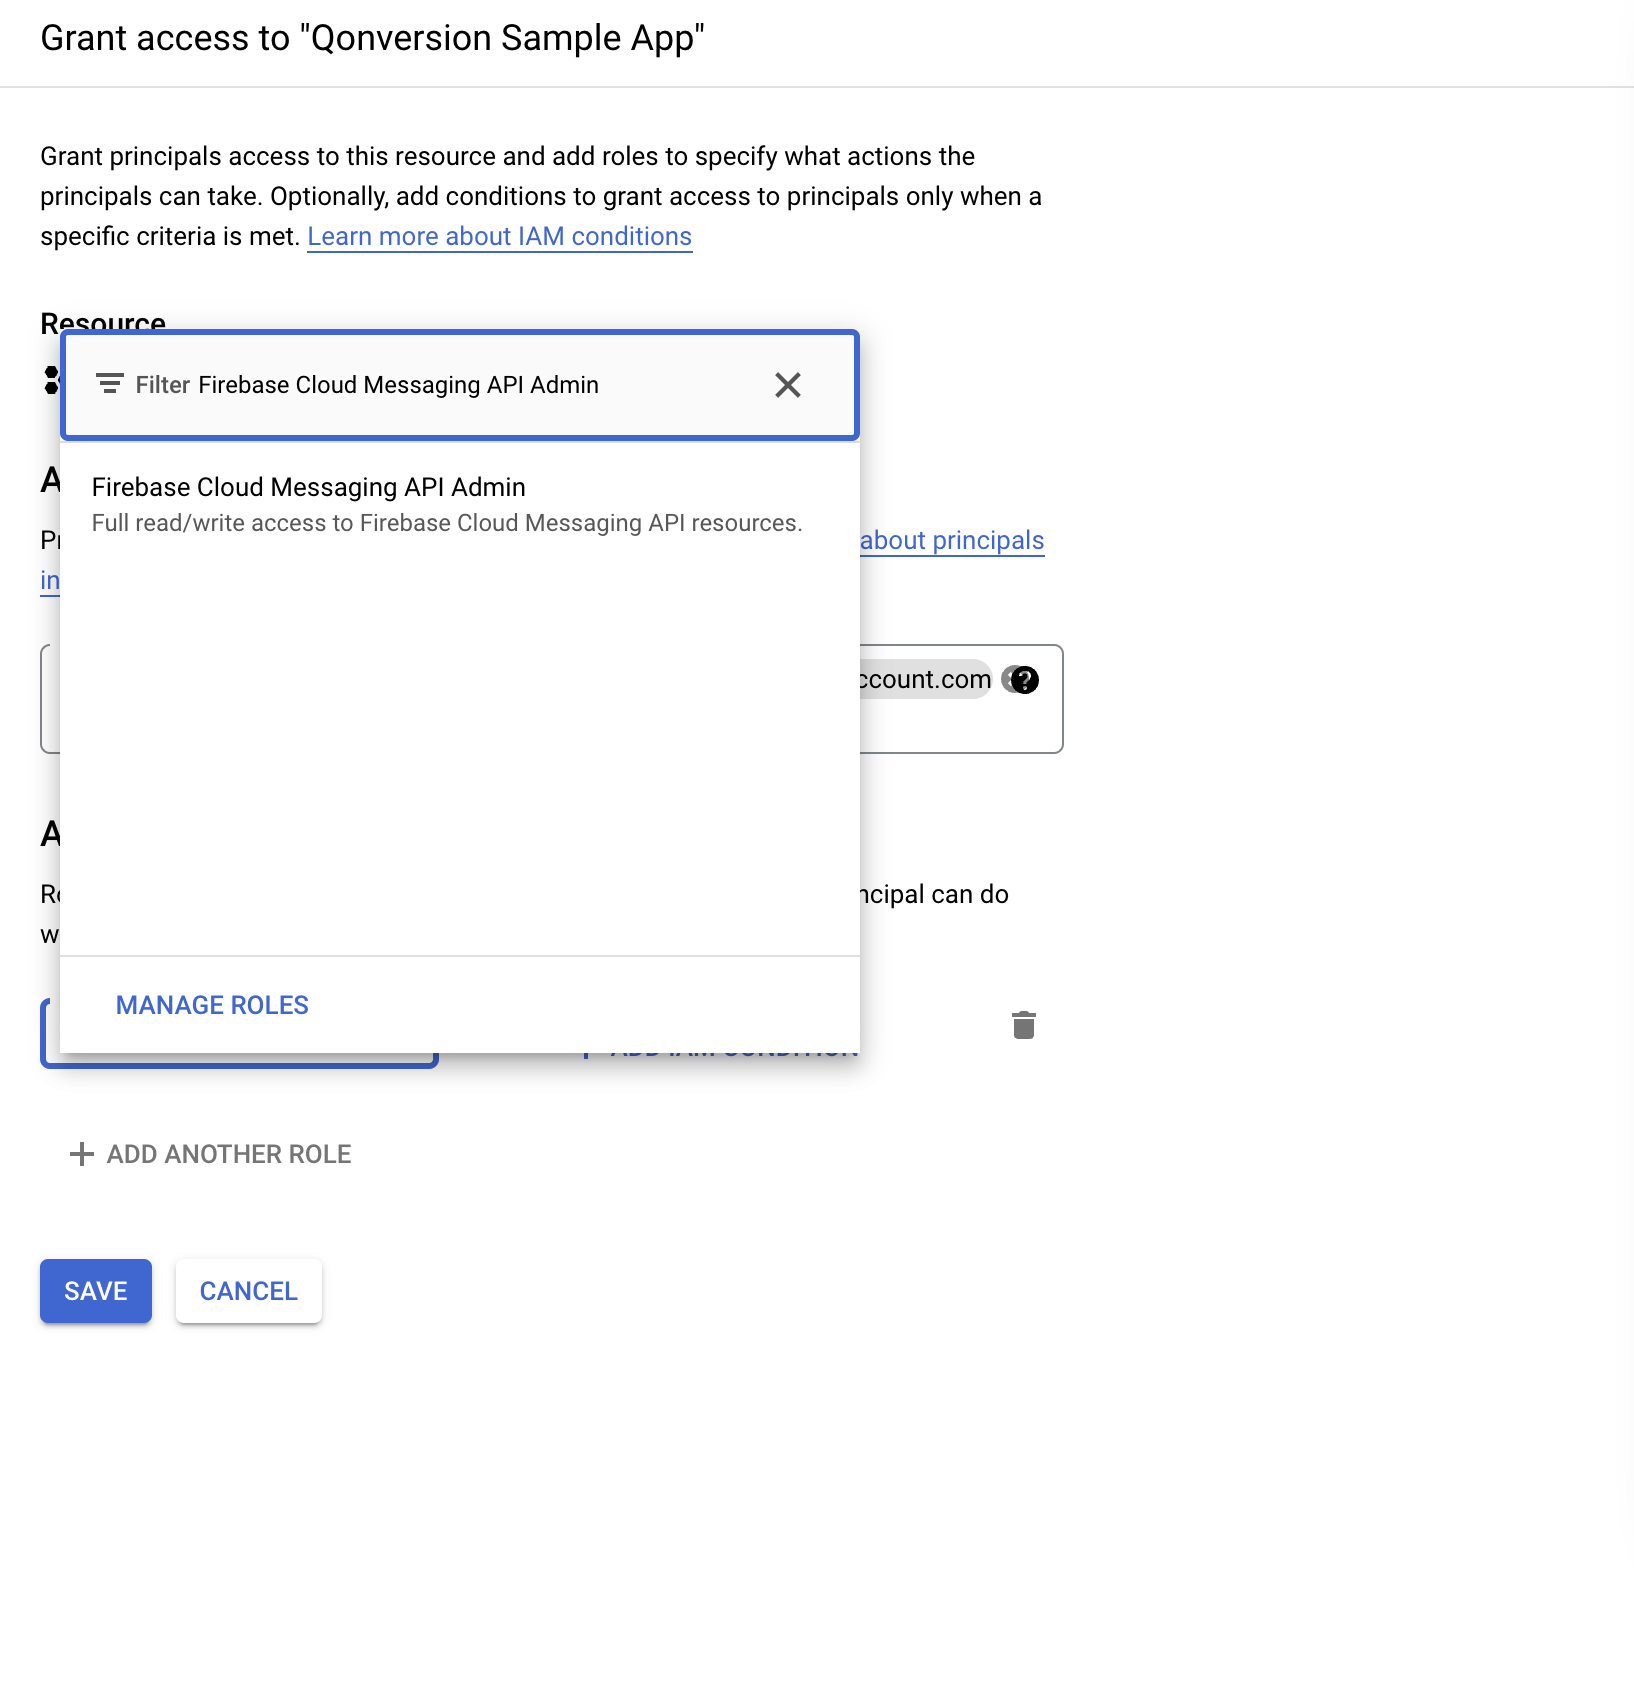
You have to add Firebase to your Android project before starting with the push notifications set up. After you have added Firebase to your app, you can follow the steps below.1. Create a Service Account JSON key
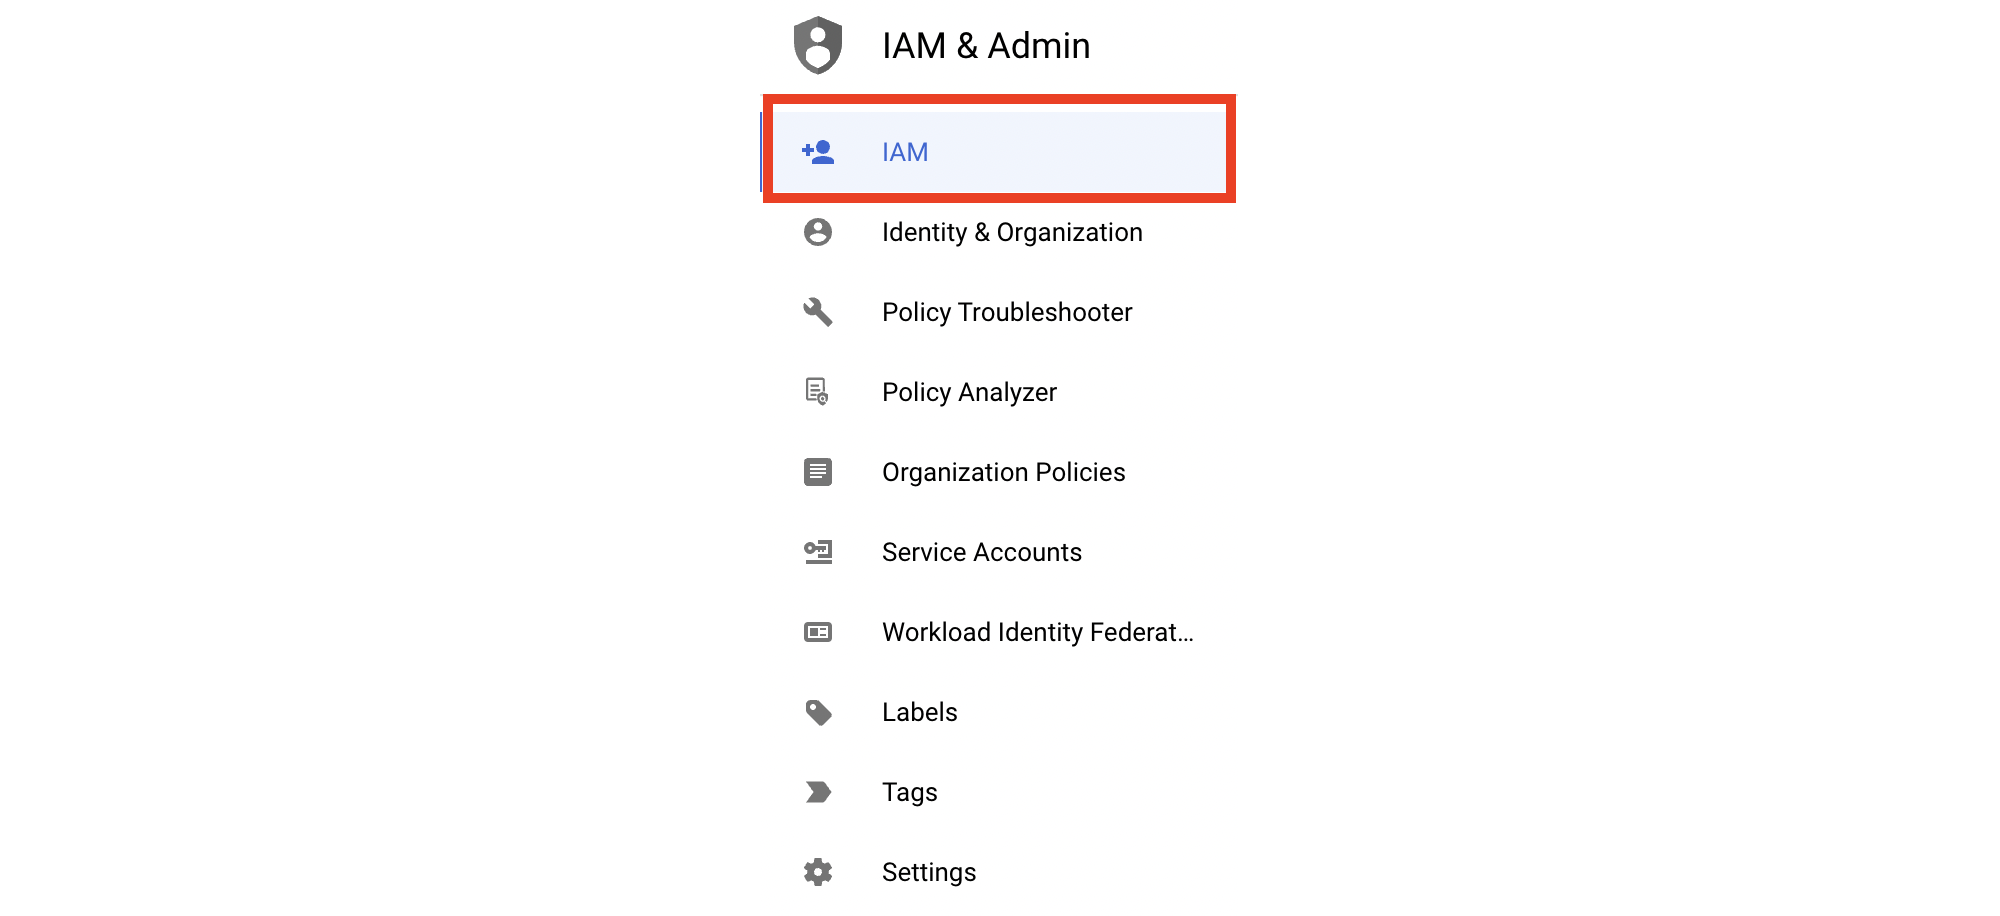
Navigate to your Firebase projects page and select your project.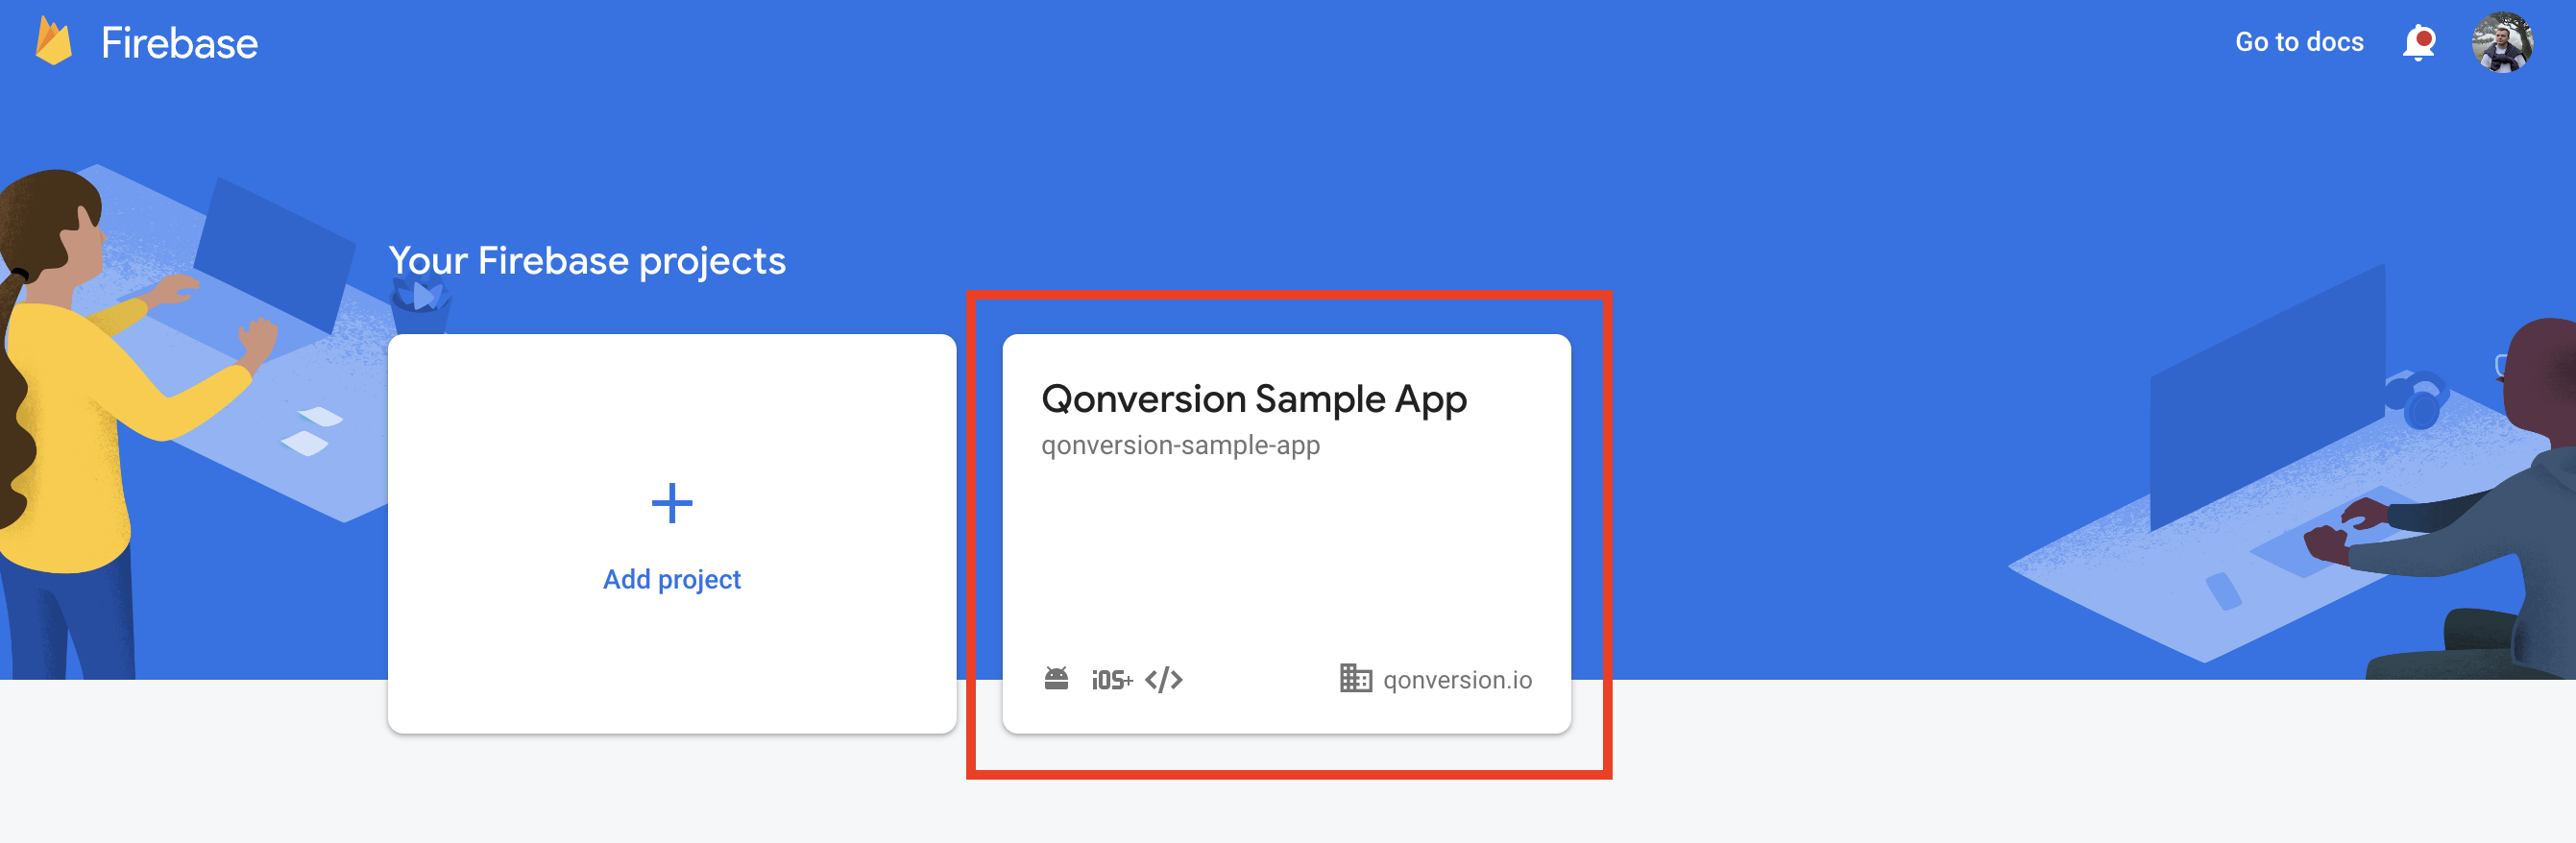


2. Copy your Firebase project ID
Navigate back to the General tab in Firebase Console and copy your Firebase Project ID: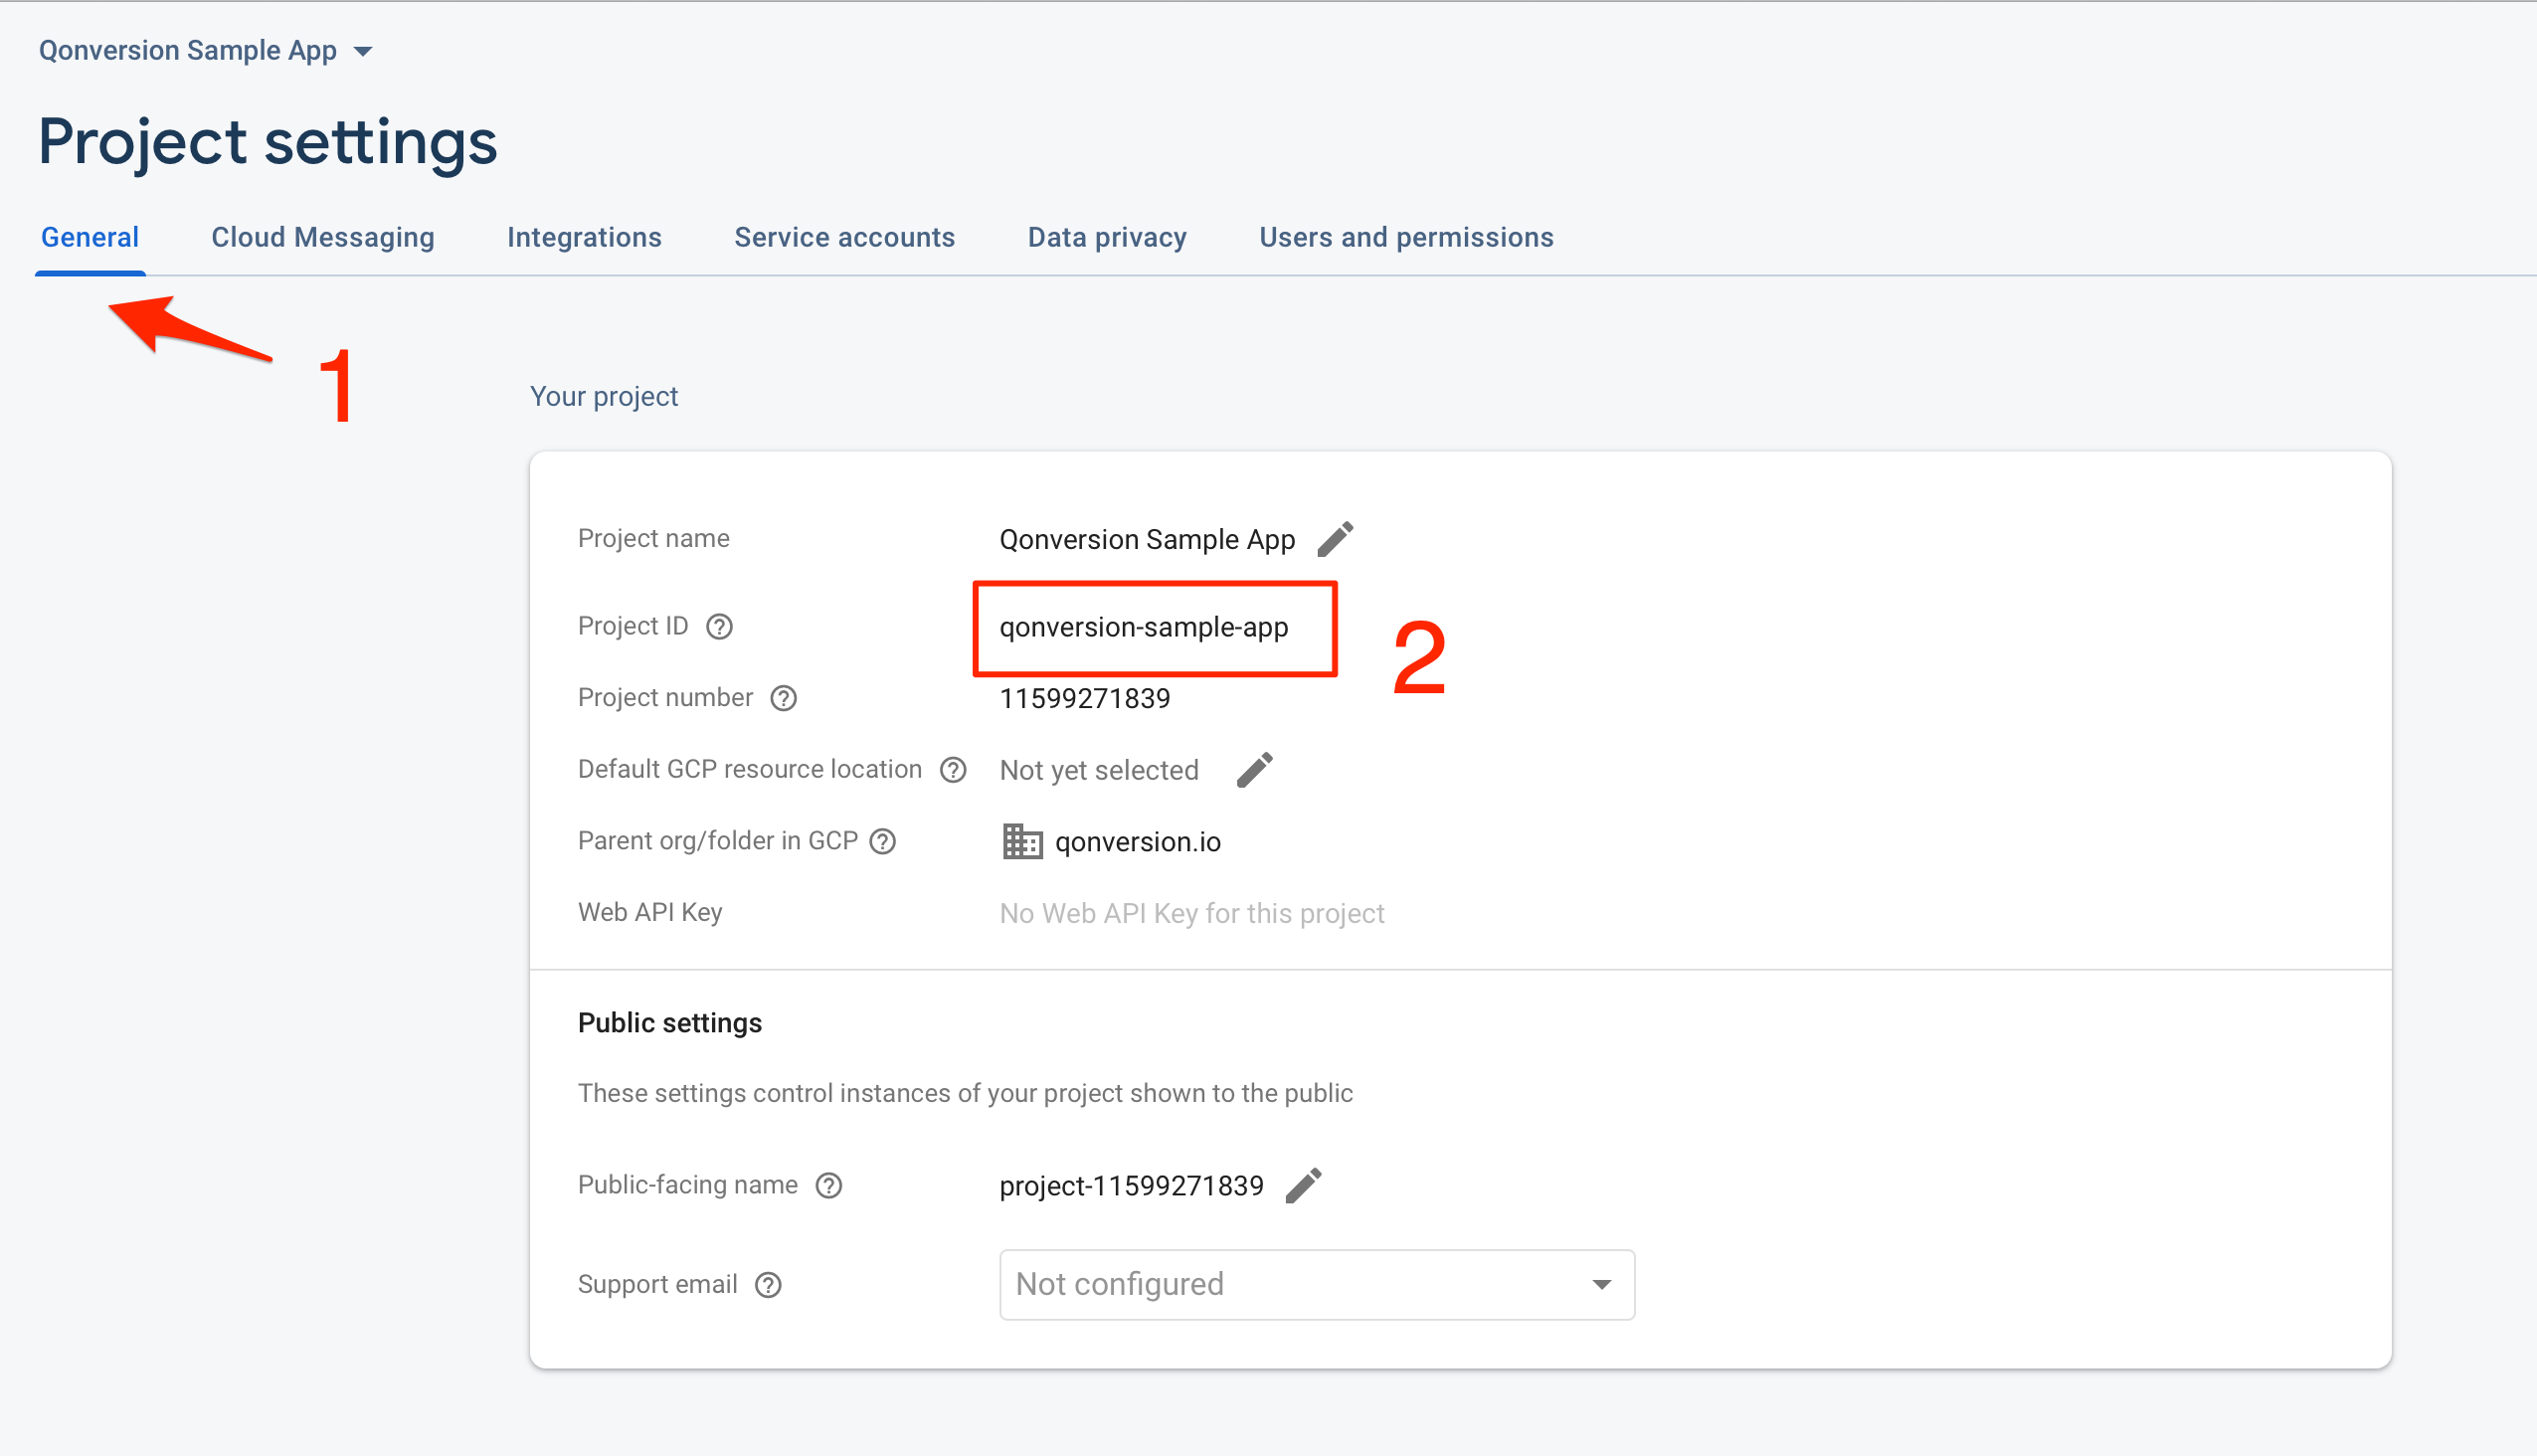
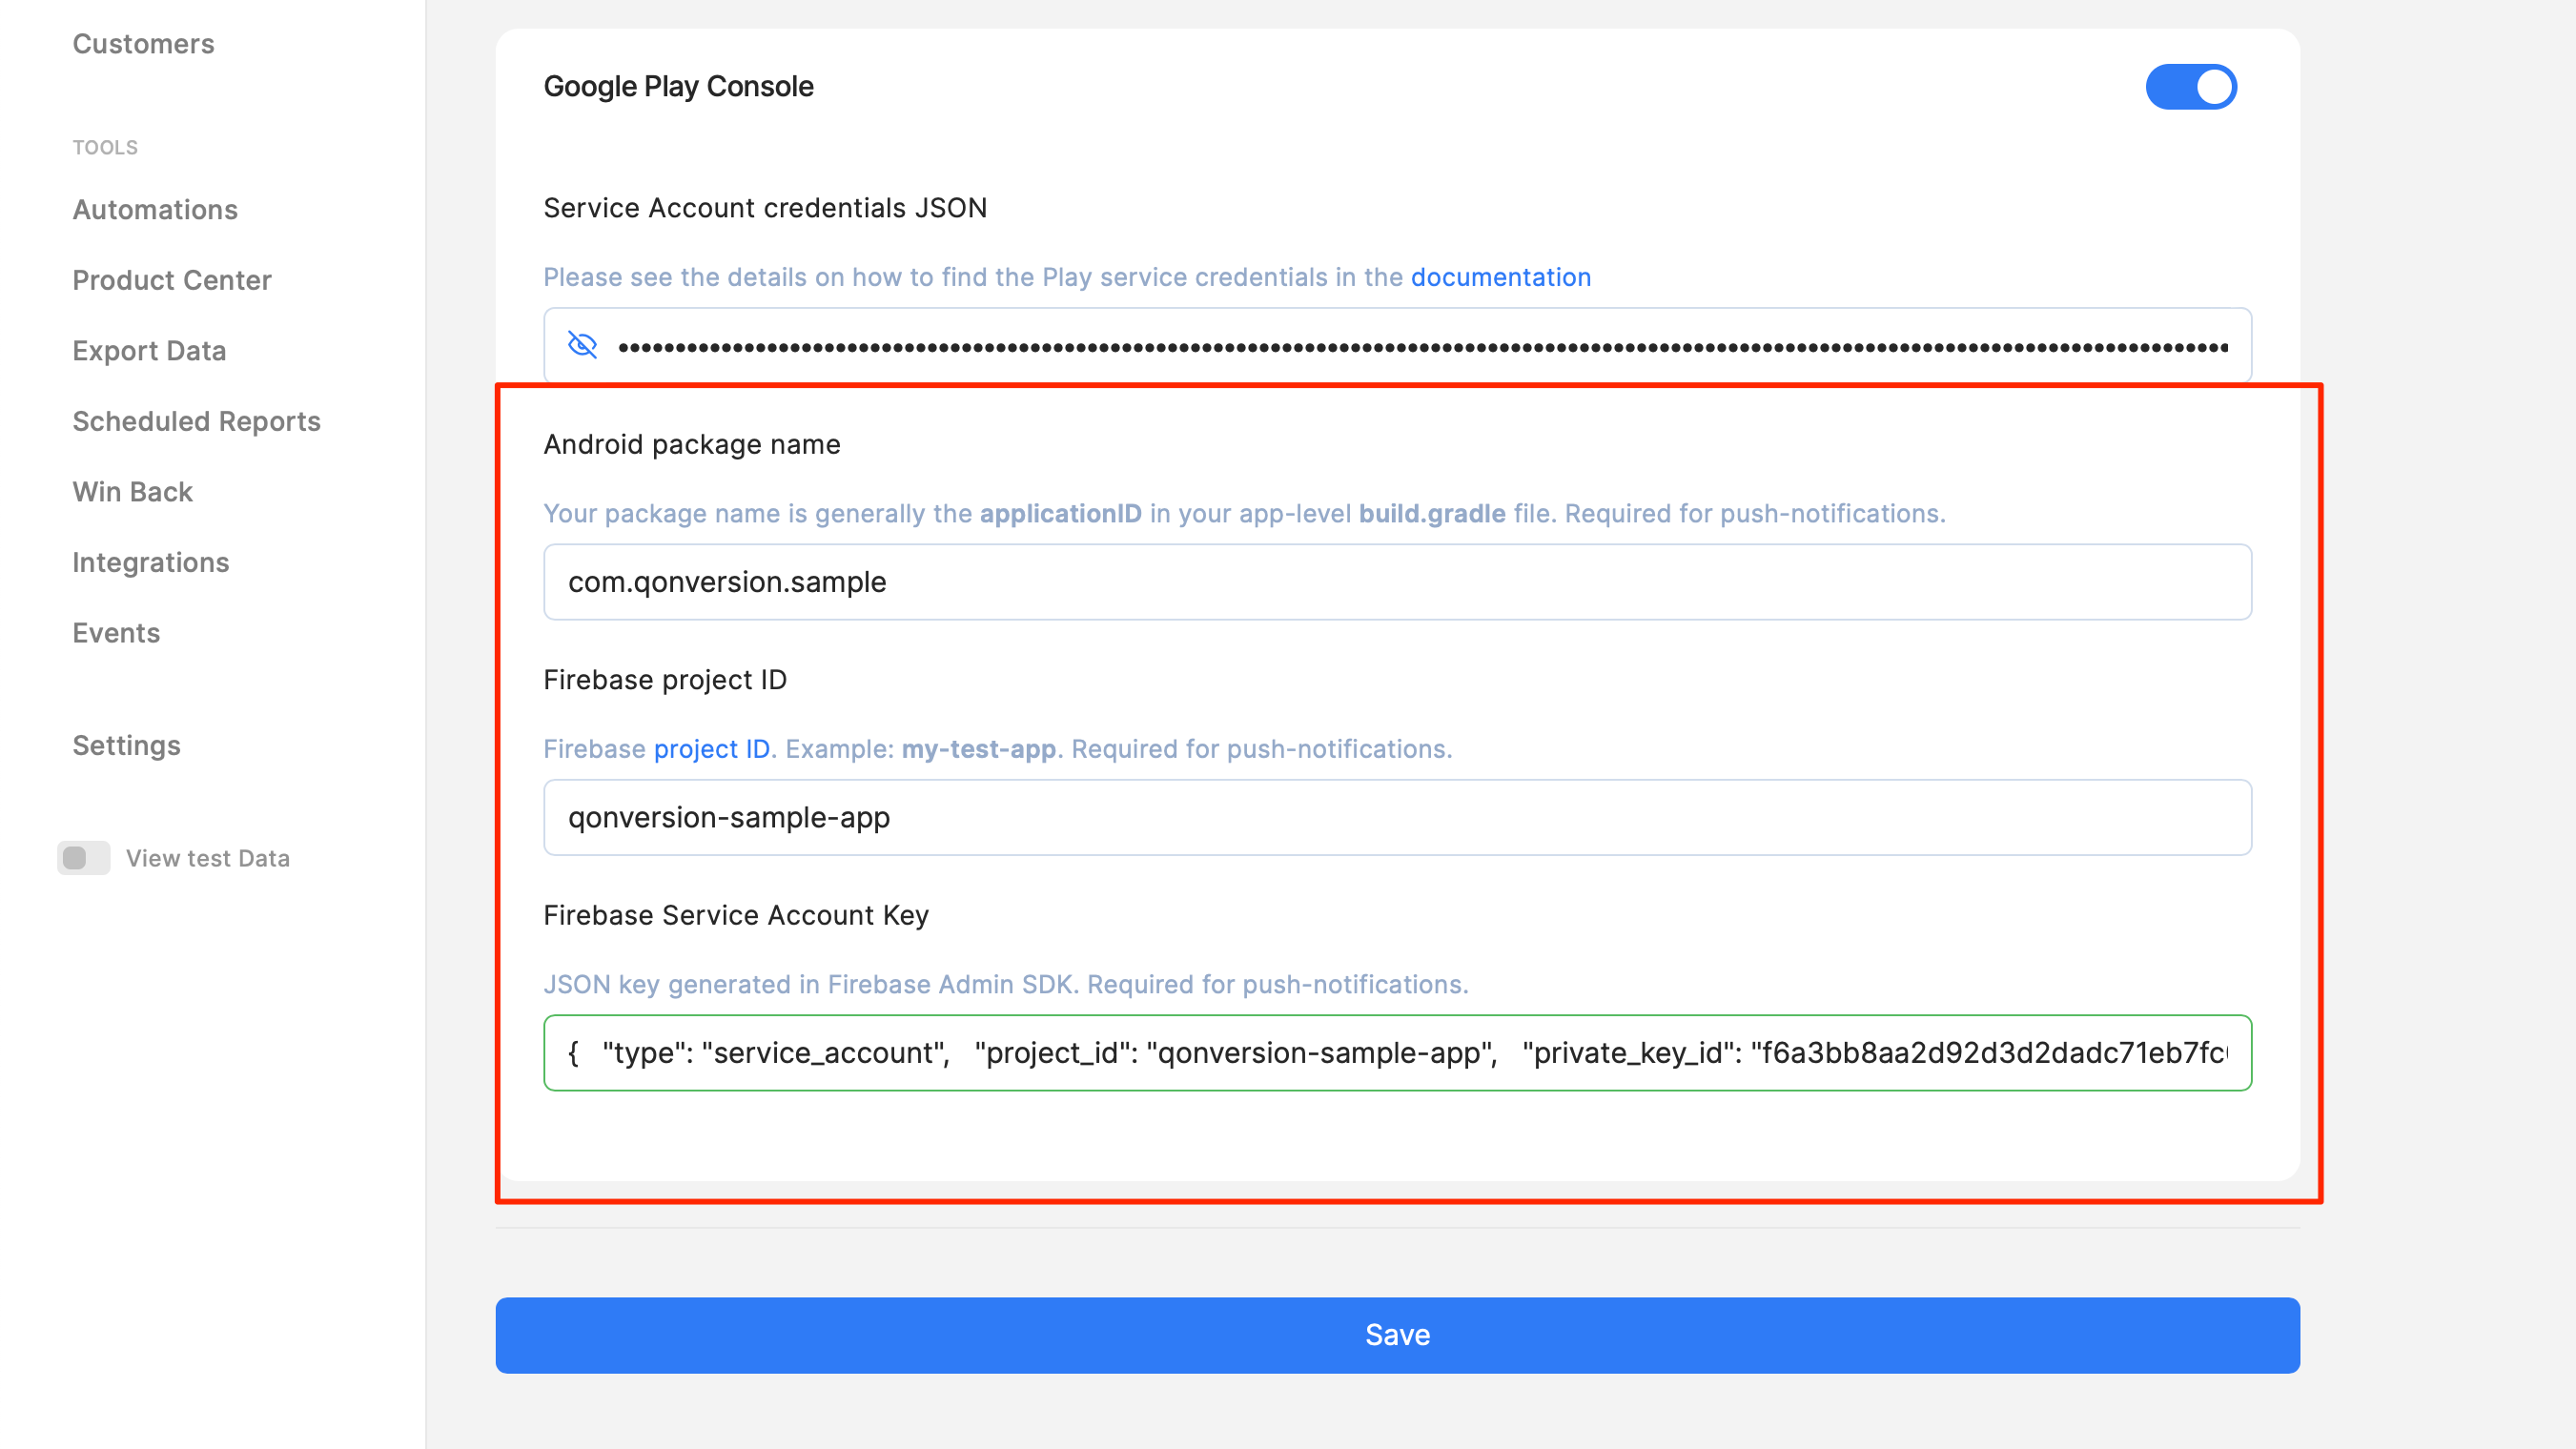
3. Configure Qonversion project with the Firebase settings:
Navigate to your Qonversion project’s settings page and provide the values for the following fields:- Android package name;
- Firebase project ID that you have copied at the previous step;
- Firebase Service Account JSON key that you have downloaded during the first step.